Creating and Posting a Job via the AI Agent
Creating and Posting a Job via the Agent
This document explains how to create a job using the agent, customize its details, and generate a basic workflow with interview rounds.
Step 1
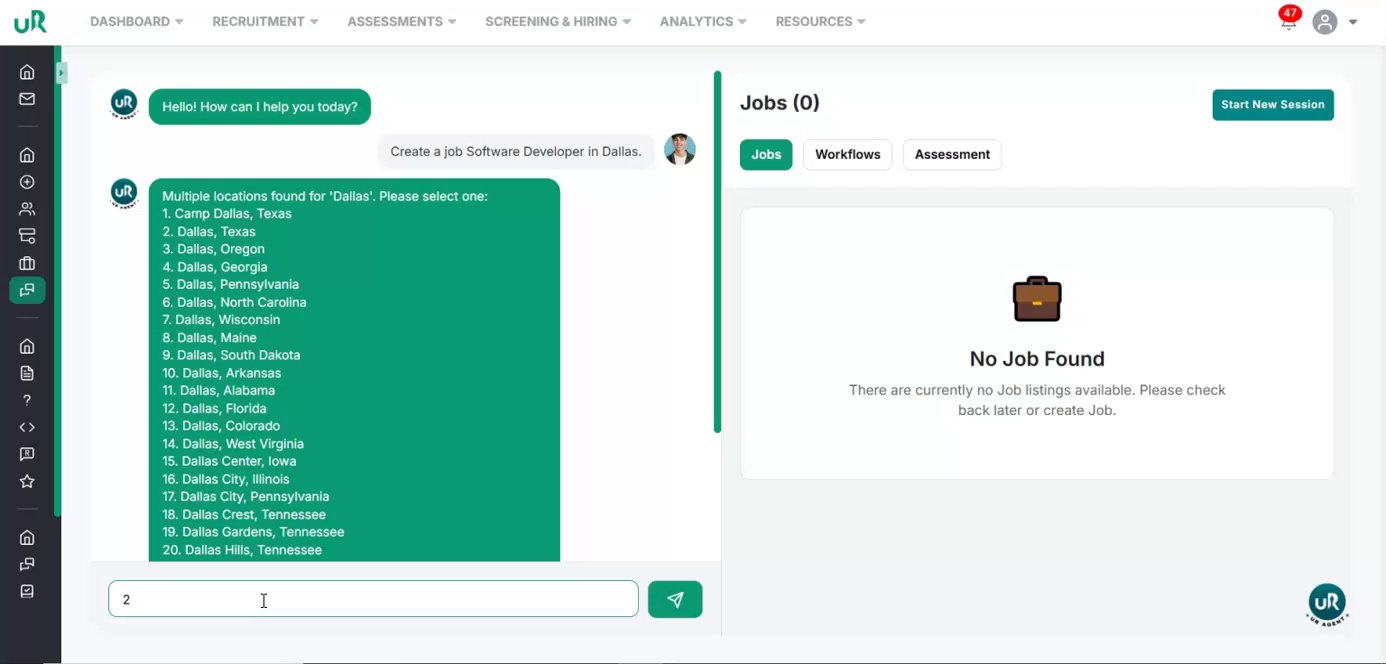
Start Creating a New Job and Select Location Let’s start by creating a job for a software developer in Dallas. We will begin by creating a new job in the system with a simple command “Create a job Software Developer in Dallas”. It will first set the job location to “Dallas.” The agent will automatically search for matching locations based on your input.
Once the list of matching locations appears, select the appropriate one (for example, the second option: “Dallas, Texas”).
Step 2
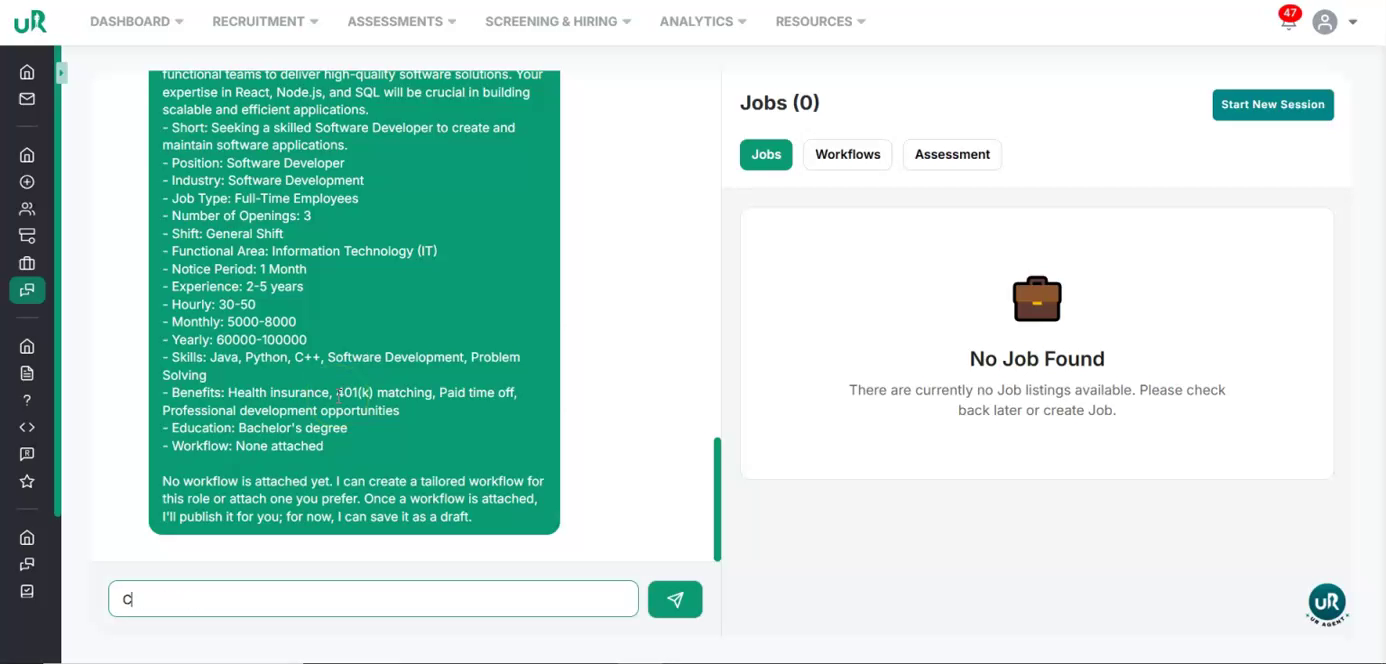
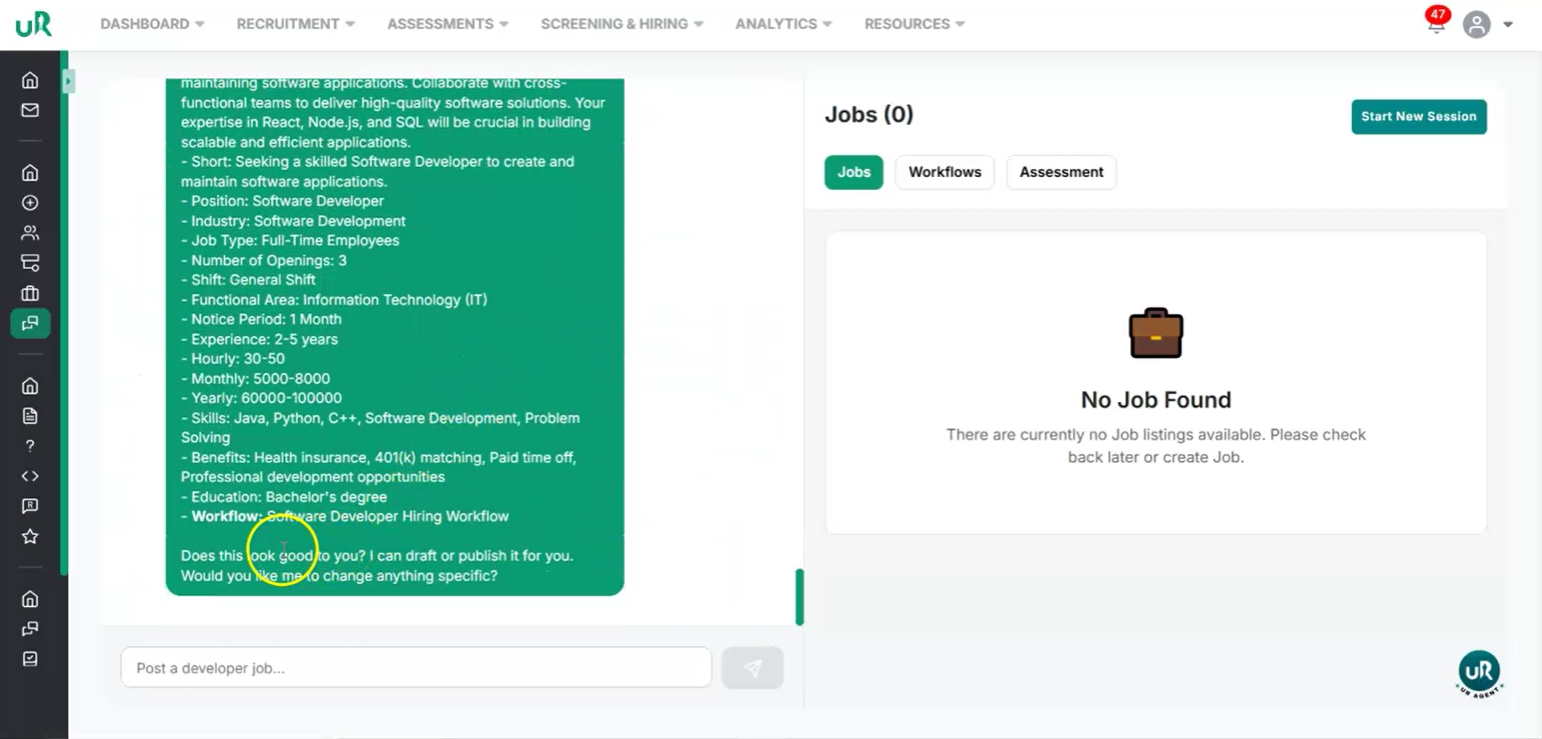
Review and Customize the Auto‑Generated Job Description Once the location is selected. The agent will generate a detailed job description for the Software Developer position.
This will include elements such as:
- Job description
- Position and industry
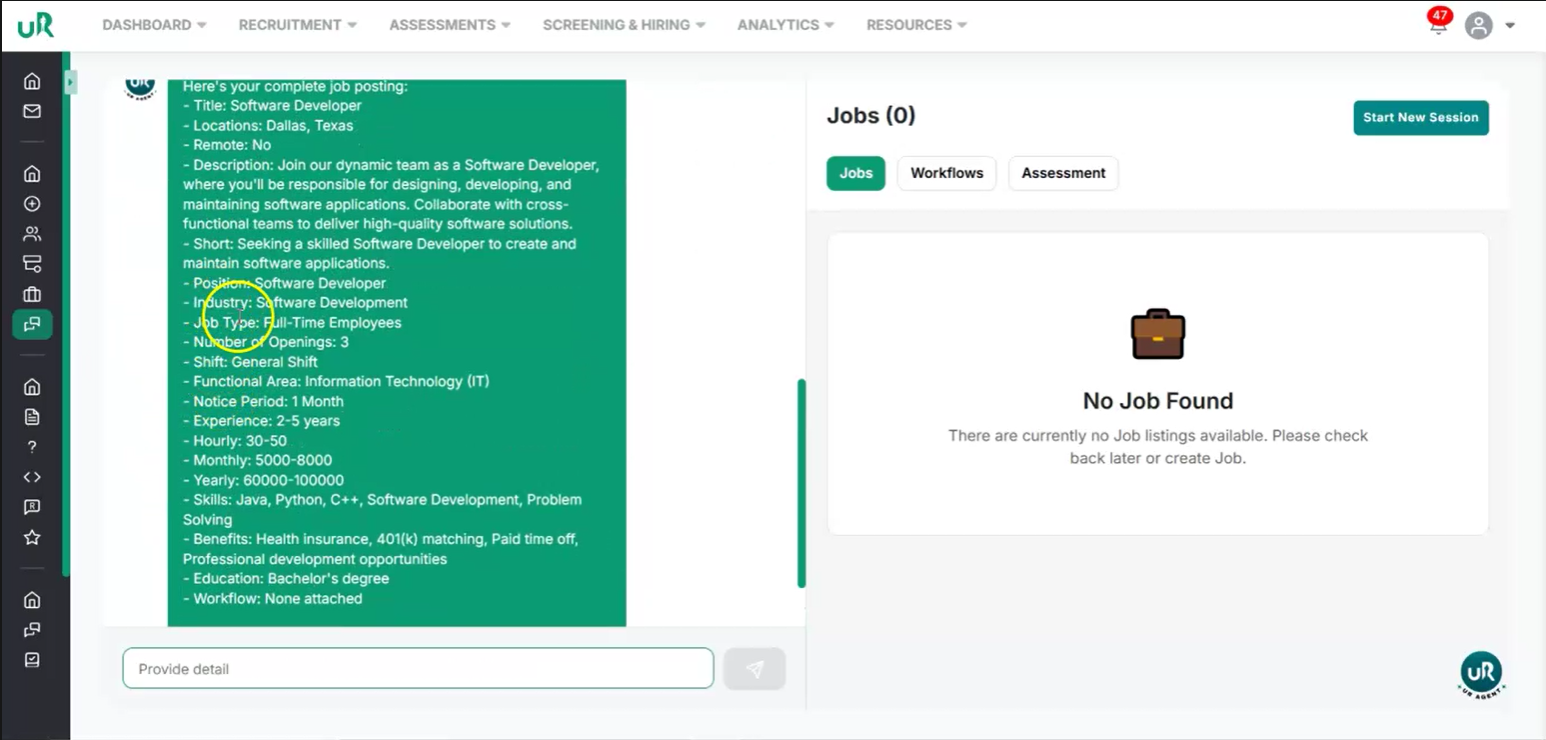
- Salary range
- Required experience Review the auto-generated details. You can modify any of these fields (description, position, industry, salary, experience, and benefits) as needed.
Step 3
Refine Technical Requirements and Compensation Details Update the job description to include specific technical skills such as React, Node, and SQL with a command “Add React, Node, and SQL related info in the description”. You can also:
- Adjust the salary range
- Modify the required experience level
- Add or edit benefits (for example, health insurance, remote work options, bonuses) Confirm that the updated description now includes the React, Node, and SQL details and that all other fields match your requirements.
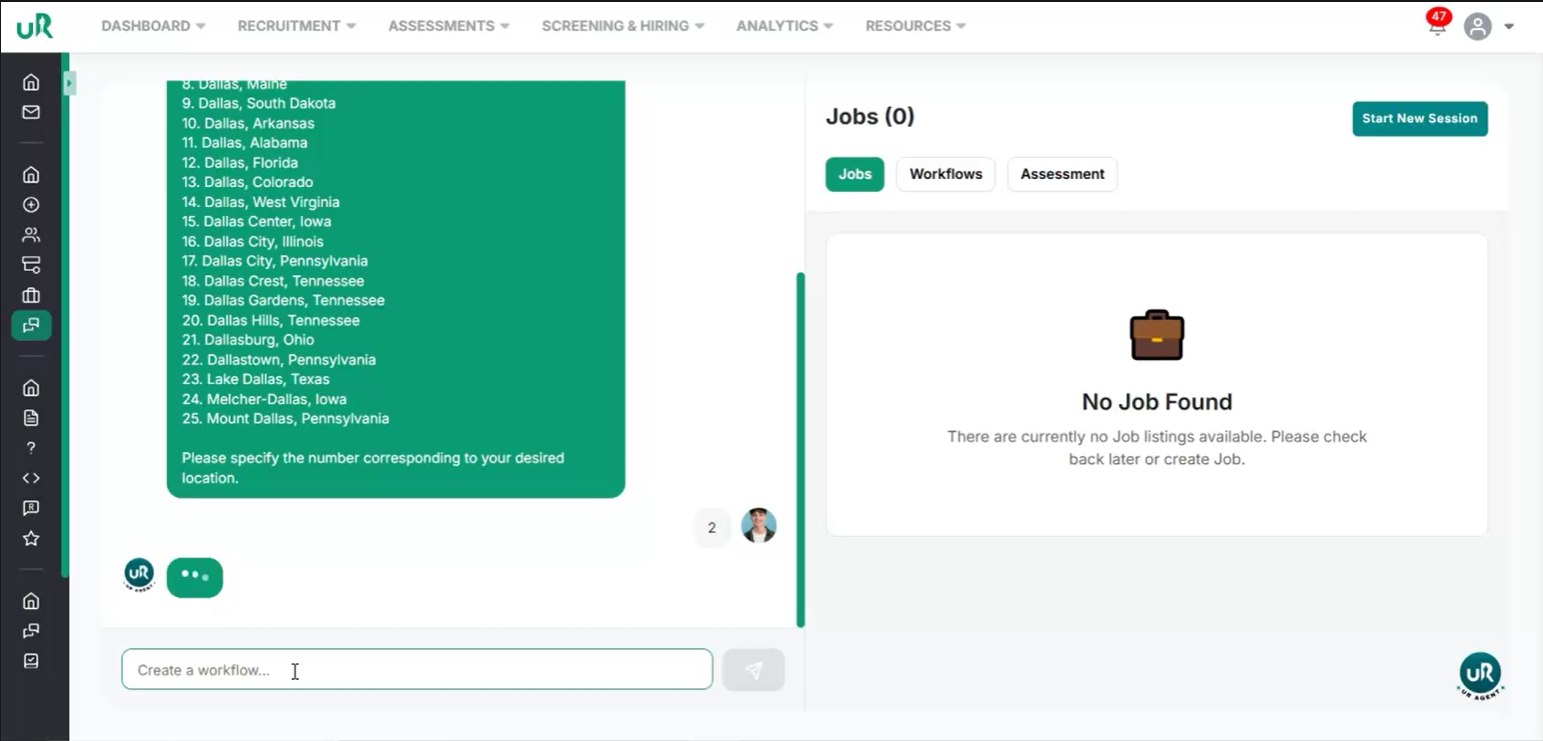
Step 4
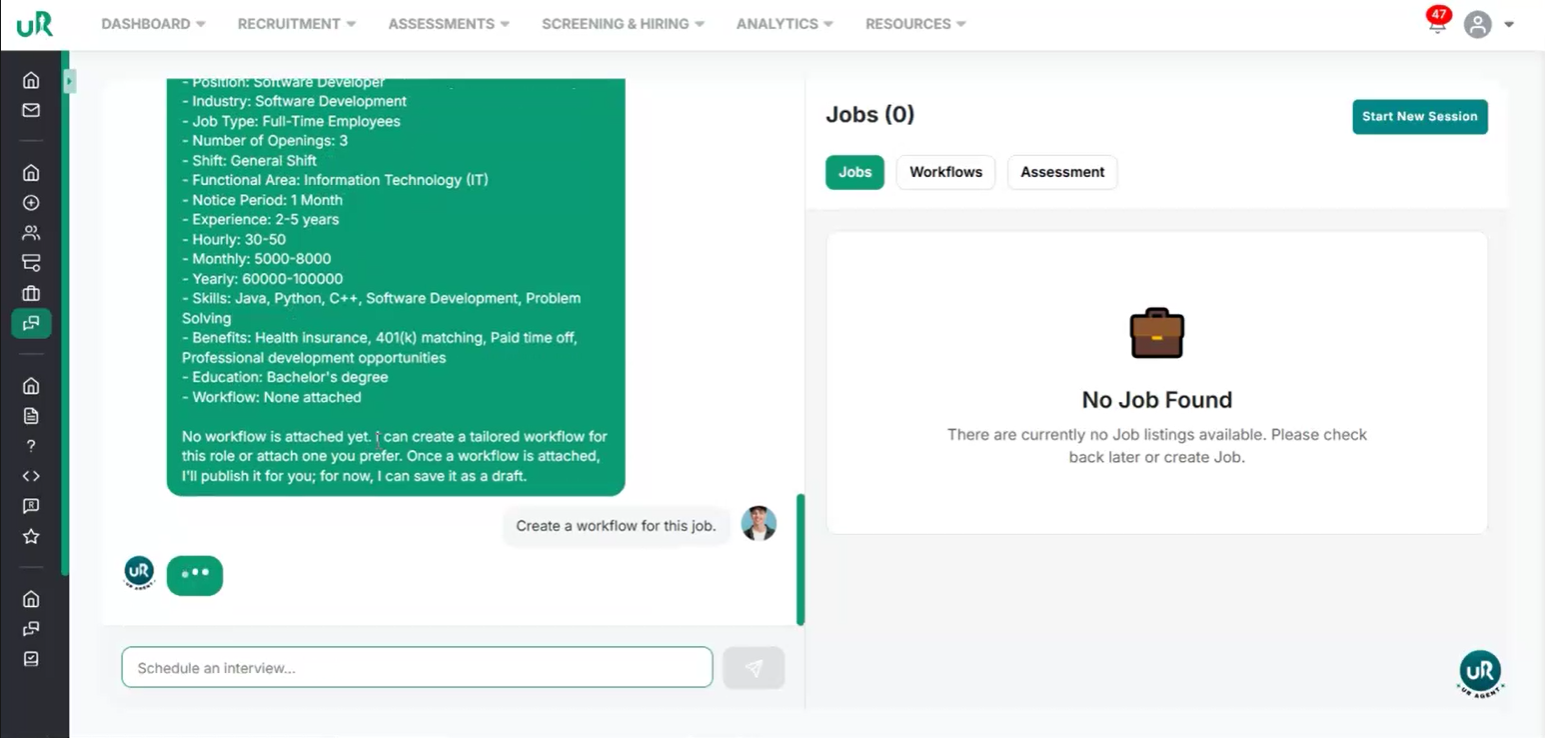
Create a Workflow for the Job If there is no workflow currently attached, you will only be able to draft the job. To fully enable the job posting, create a workflow specifically for this job. Proceed to add a workflow with at least two interview or assessment rounds that are relevant to the Software Developer position. This can be done by giving the command “Create a workflow for this job”
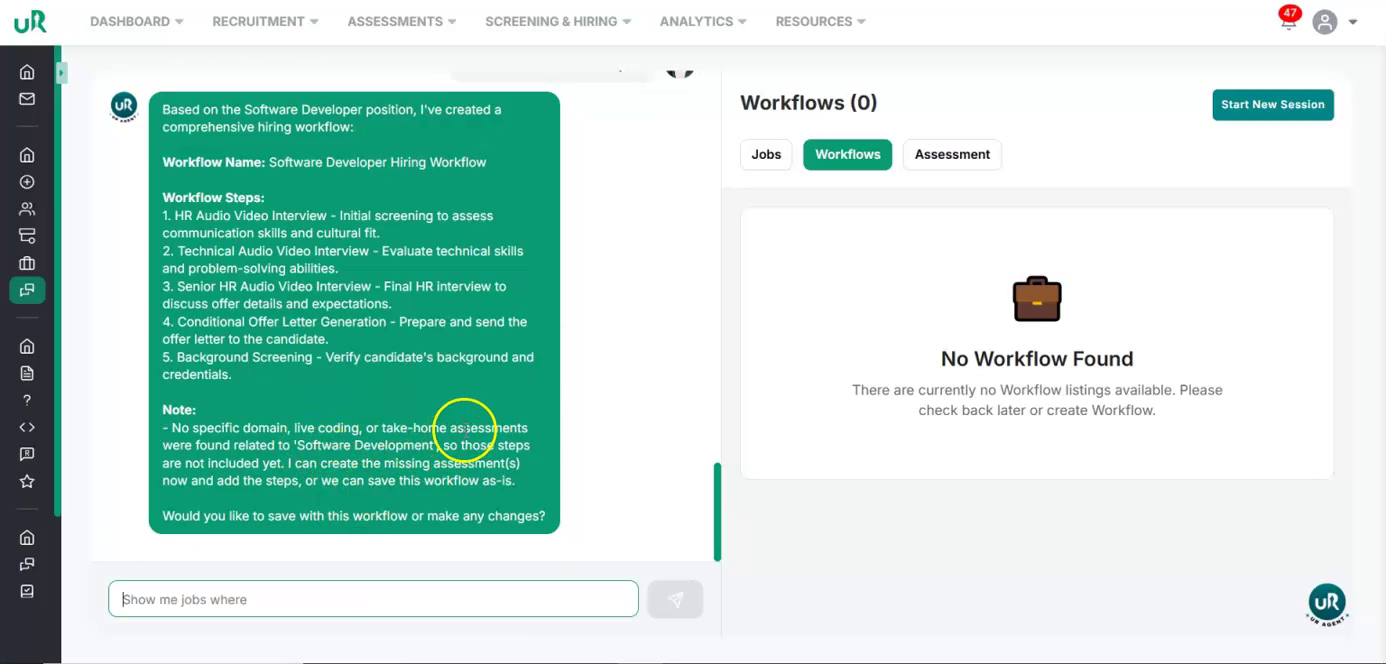
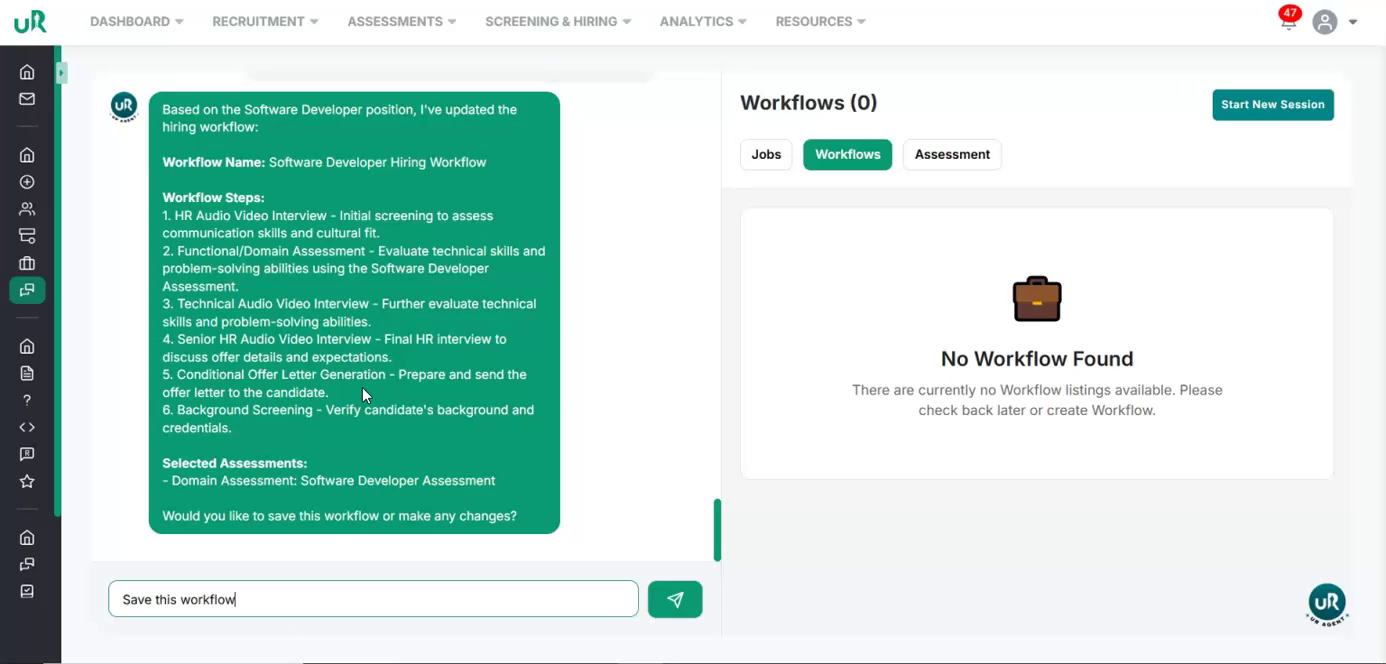
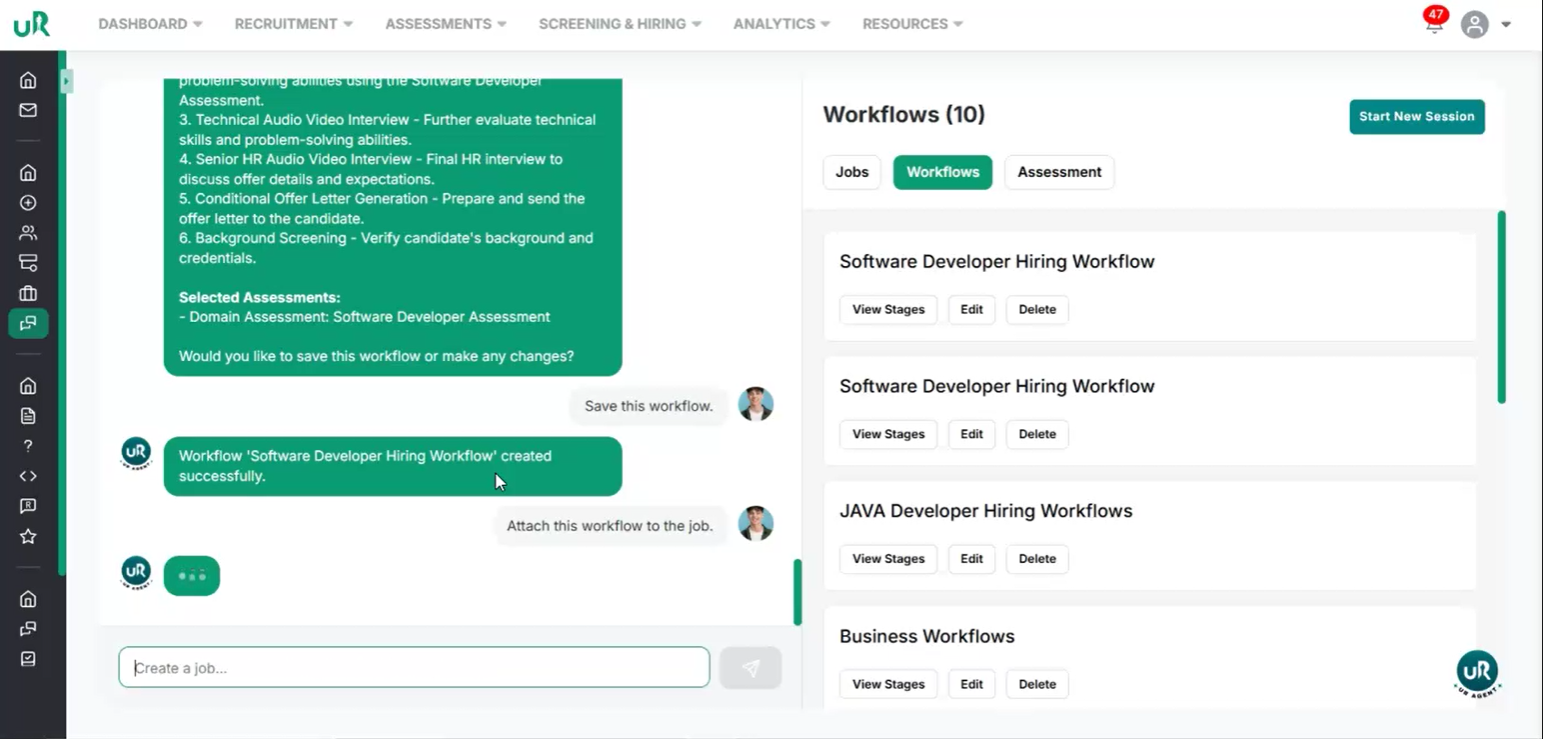
It will create the workflow. Begin by reviewing the various assessment stages associated with the job position, such as the HR round, technical round, and senior HR round.
Step 5
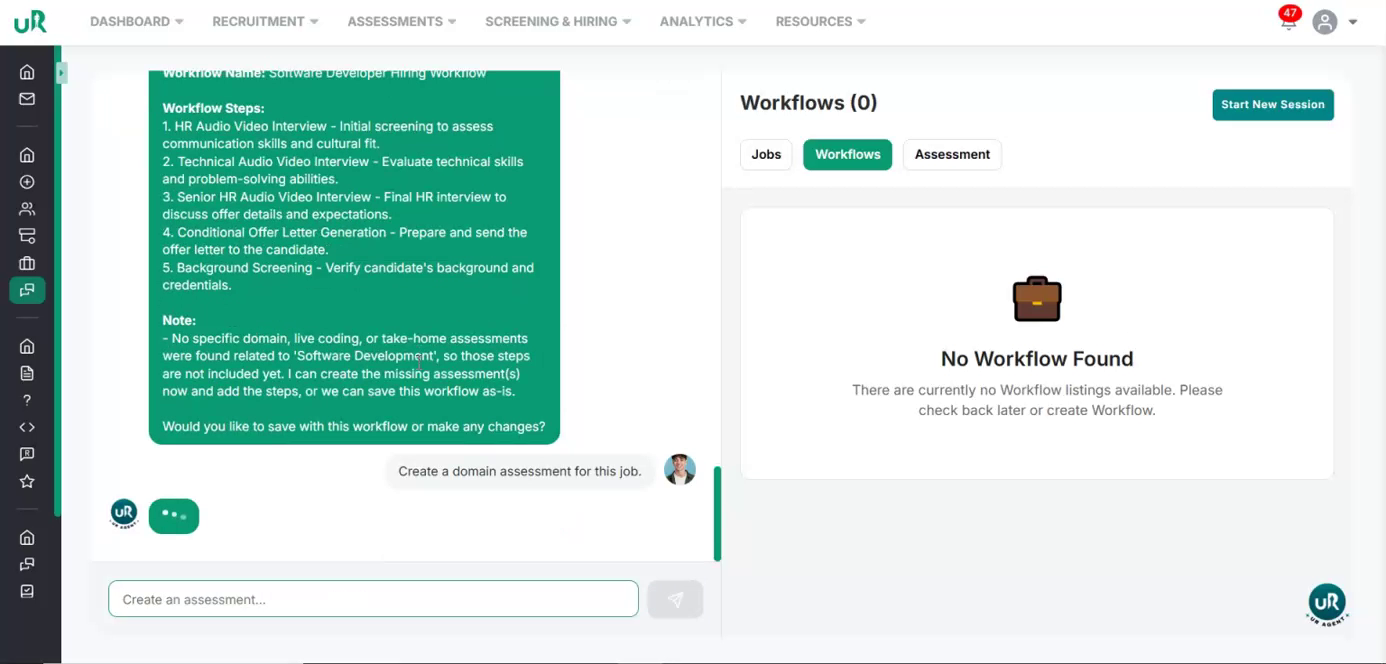
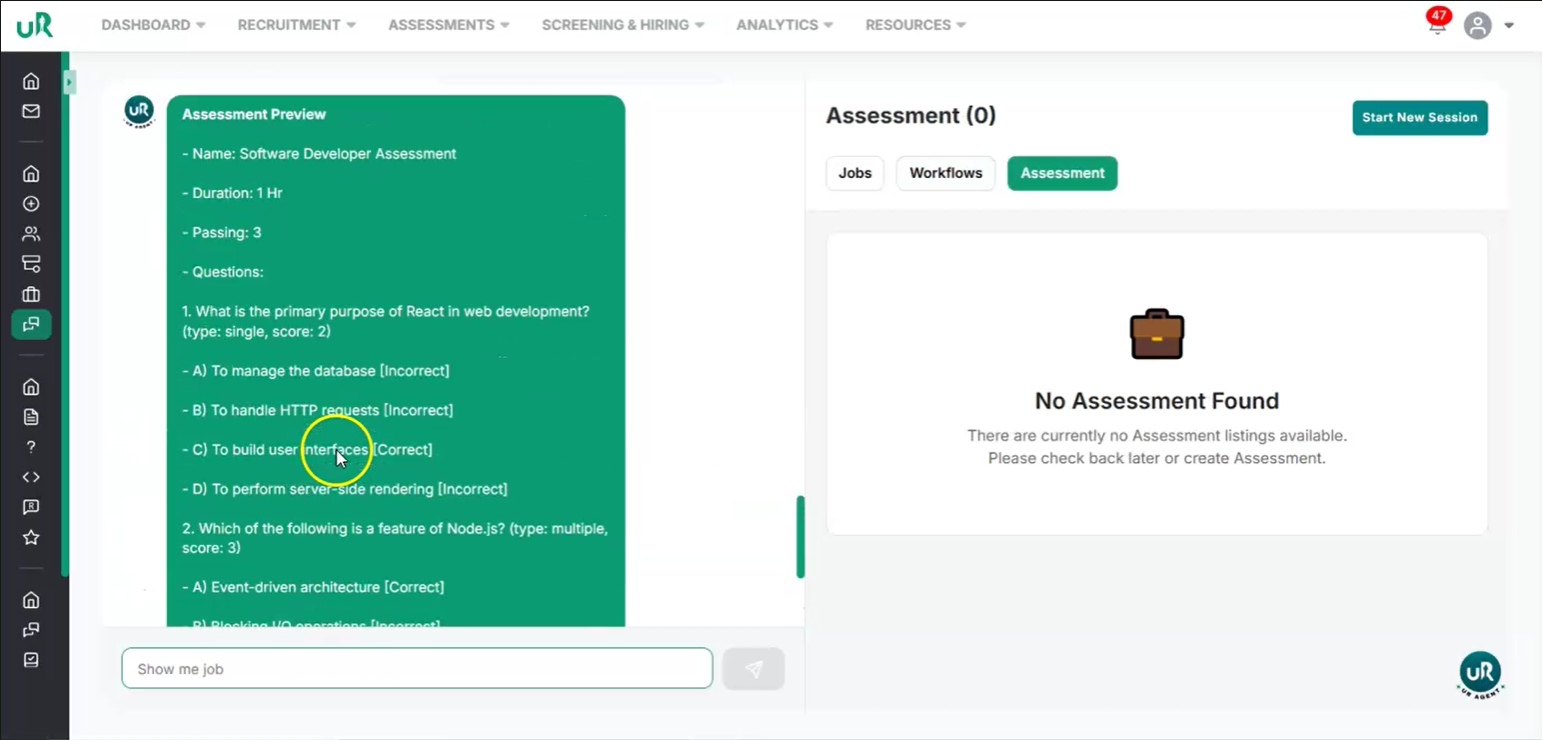
Create an Assessment for the Job Proceed to set up the type of assessments required. We support three kinds of assessments: domain, live coding, and take-home assessments. For this task, let's add a domain assessment round. This requires creating a new domain assessment.
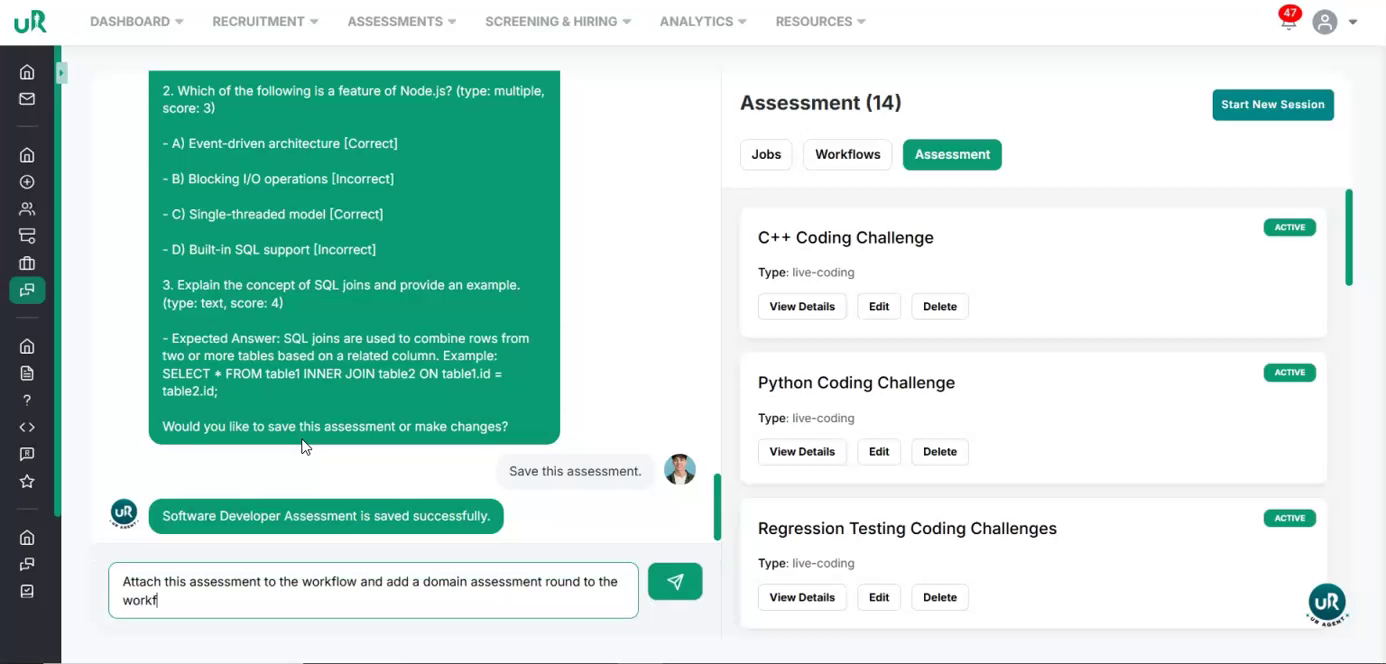
The domain assessment has now been created. The created domain assessment includes three initial questions. Additional questions can be added to enhance the assessment if necessary.
Save the newly created assessment. Upon saving, the assessment will be saved successfully. Next, proceed to attach this assessment to the relevant workflow.
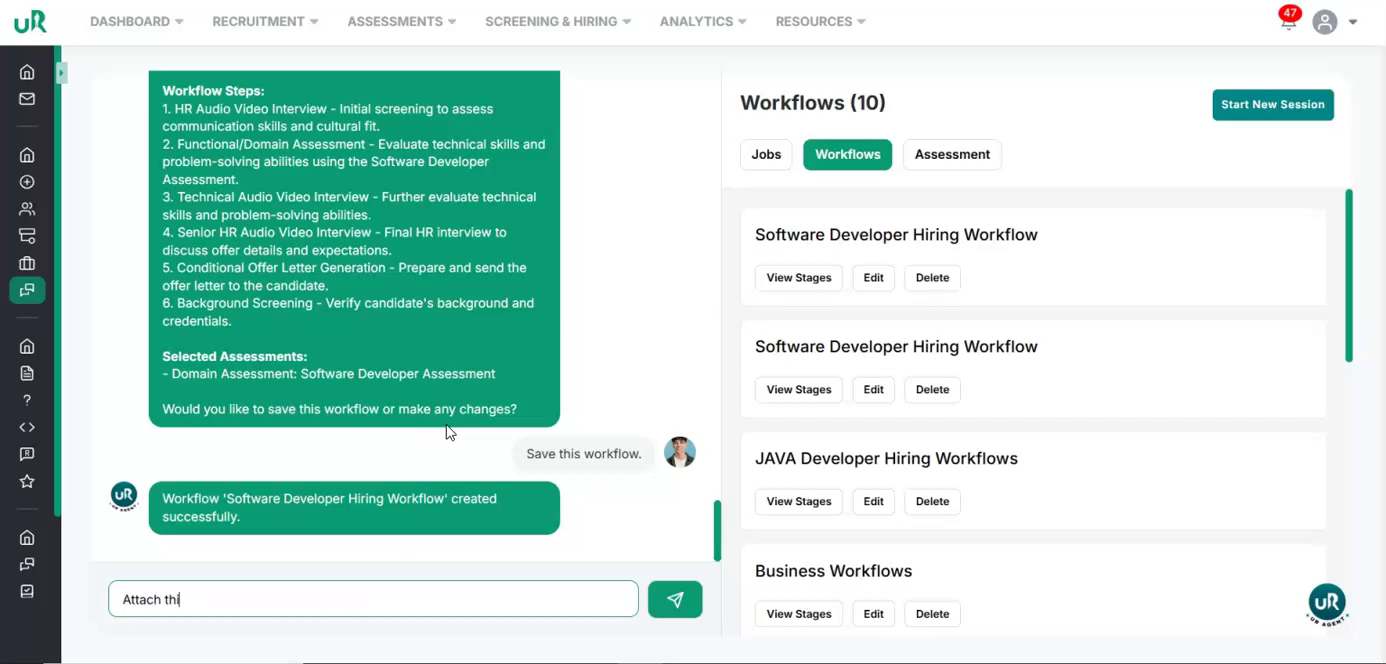
Upon reviewing the workflow, you will see the domain assessment has been successfully integrated, including a functional round paired with that assessment. After that save the updated workflow.
The workflow has been successfully created with the defined stages.
Step 6
Attach Workflow to the Job
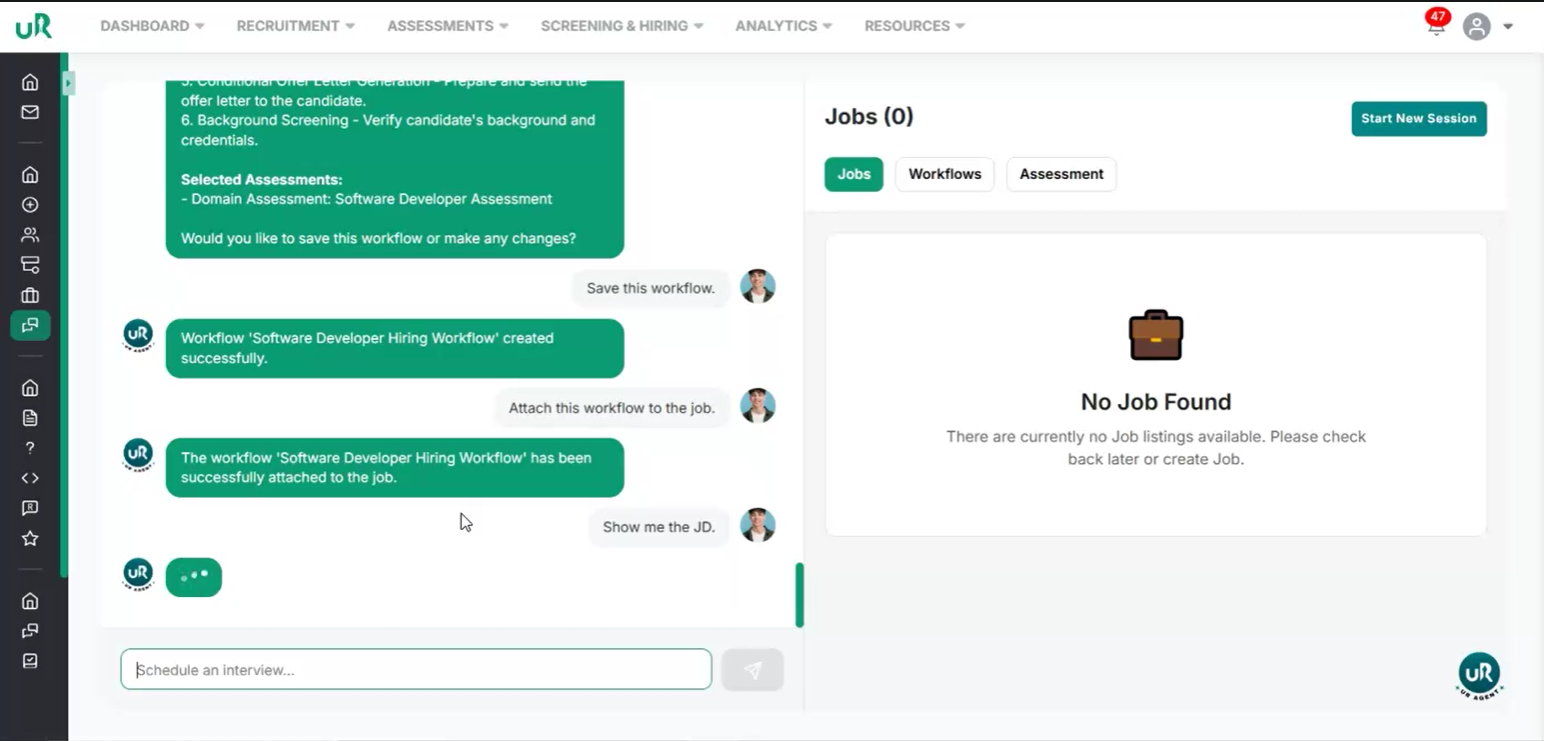
The final step is to attach this workflow to the Job that was created earlier.
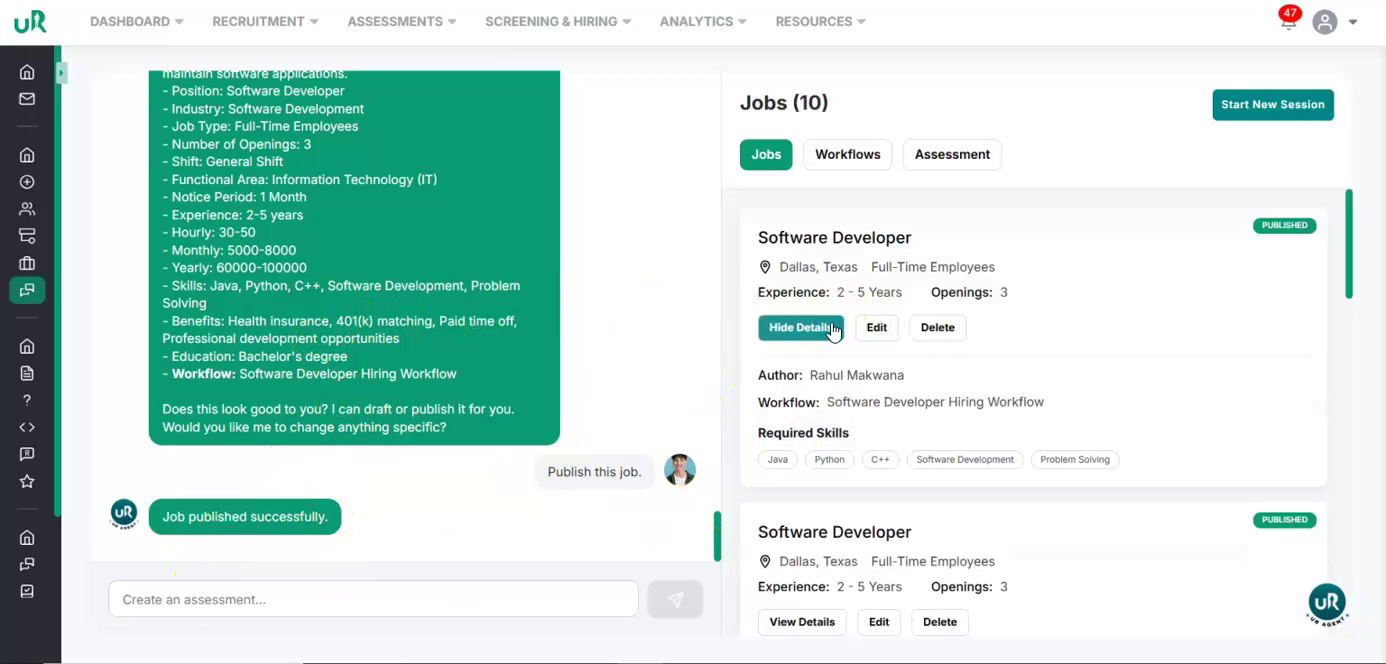
Verify on the job screen that the workflow is clearly shown as attached to the job through the command “Show me the JD ”.
This indicates that the configuration between the job and the workflow is complete and ready for publishing.
Step 7
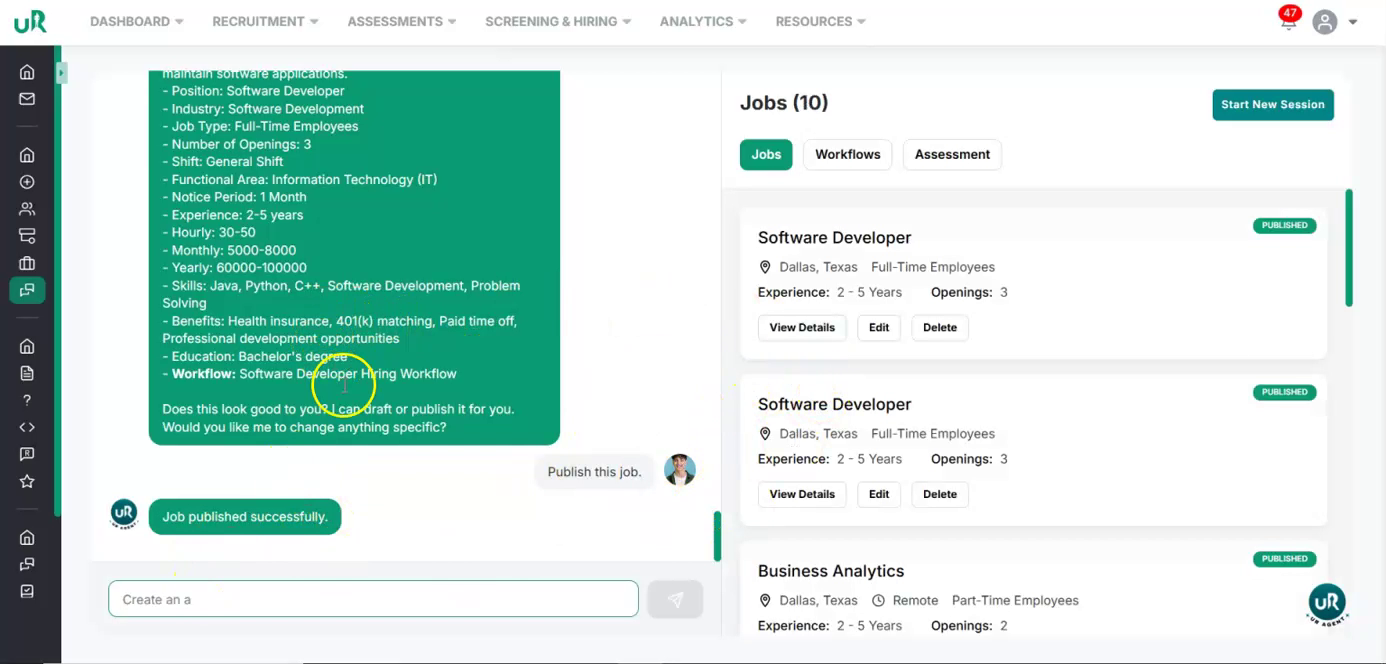
Publish the Job Use the available option on the job screen to publish the job. Once you trigger the publish action, confirm that the system indicates the job has been successfully published.
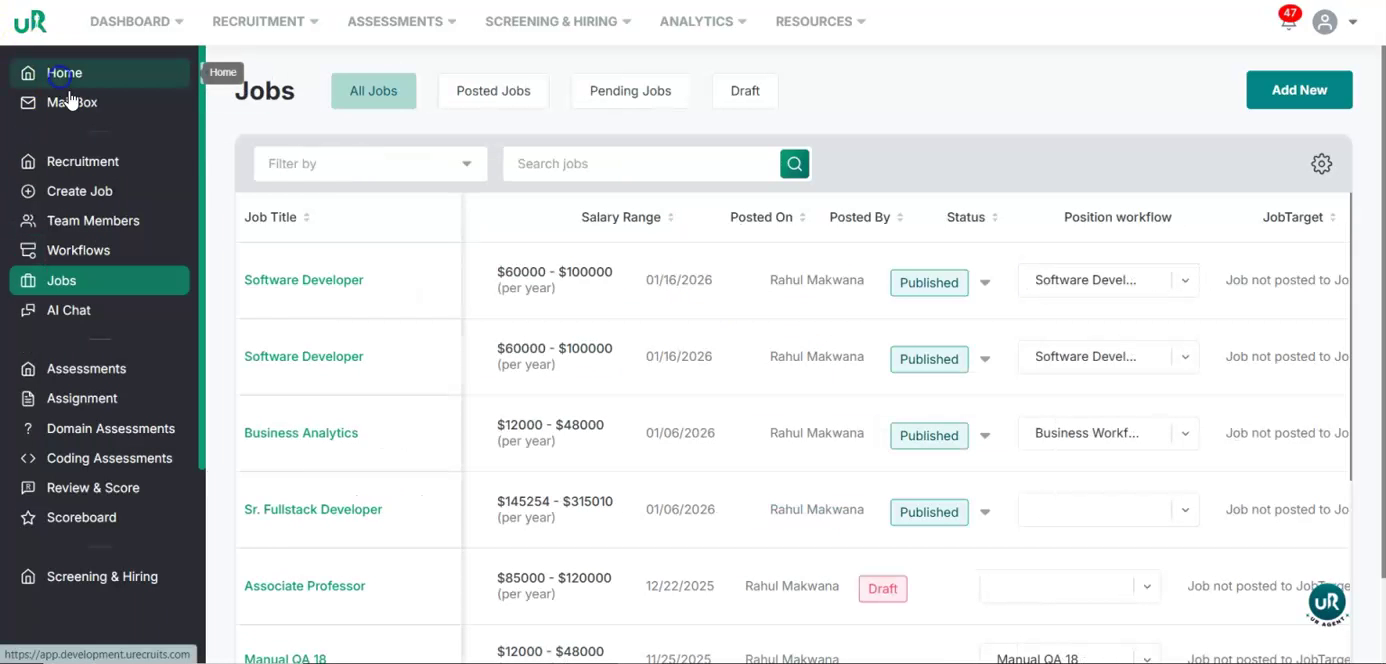
After publishing, open the job details view to verify the configuration.
Check that the job status shows as published and that it is associated with the workflow you created.
Step 8
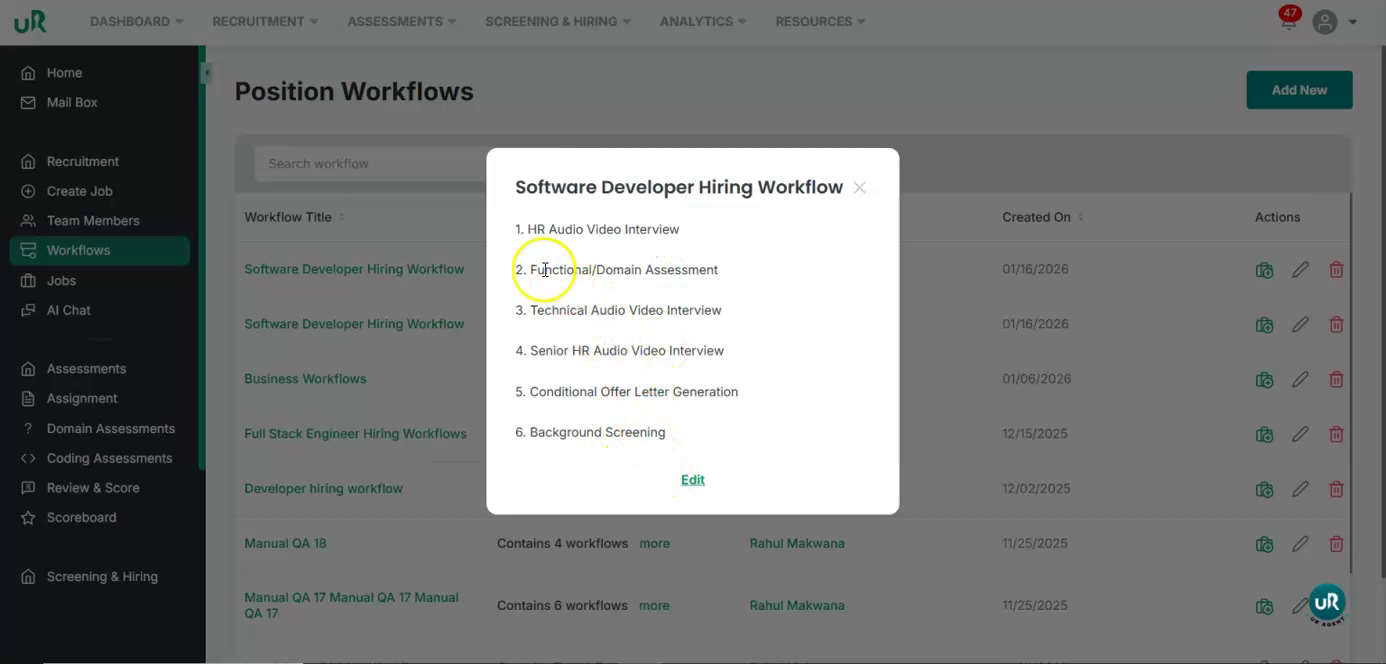
Verify the Attached Workflow and Its Rounds
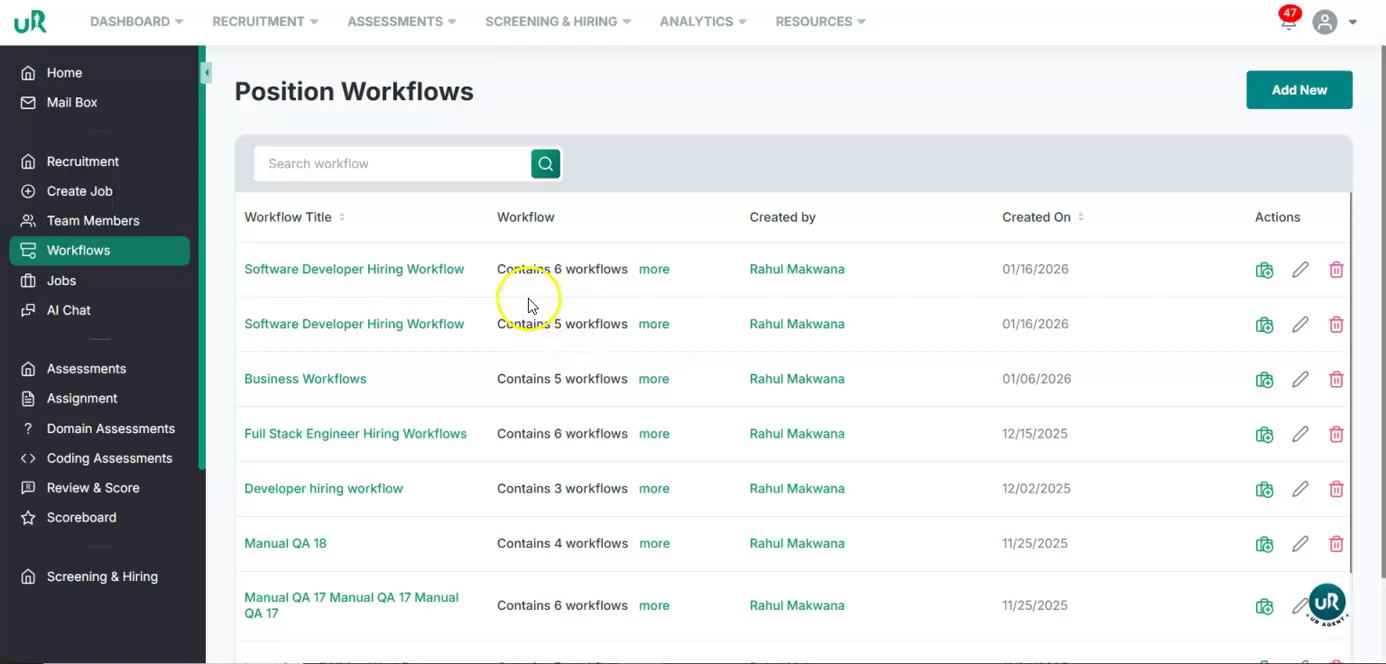
On the published job, confirm that the displayed workflow is the same one you created.
Review the workflow structure and ensure it includes all intended rounds specifically, six rounds in total, including at least one round that contains an assessment.
This completes the end-to-end process of creating a job, attaching a workflow, and associating one or more assessments to that workflow.