Creating and Publishing a Job via the UI
Creating and Publishing a Job via the UI
This document explains how to create and publish a job posting using the application’s user interface, including setting basic details, compensation, position information, required skills, and benefits.
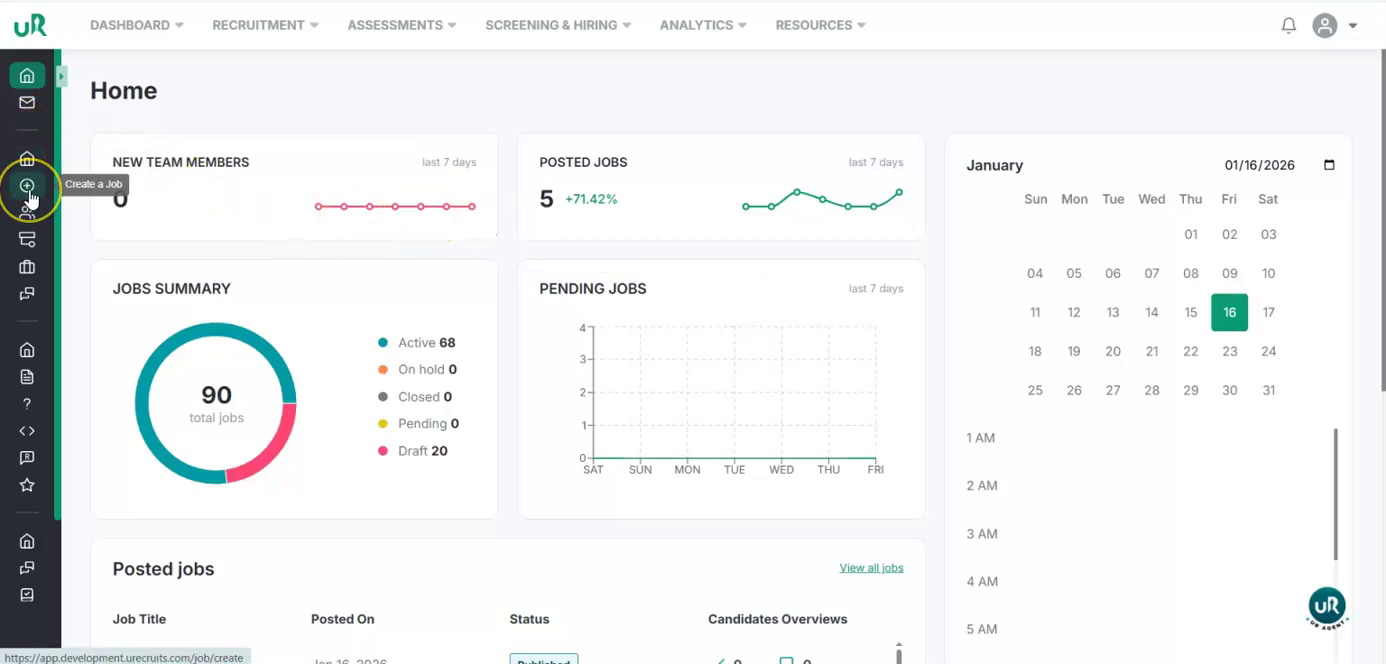
Step 1
Start Creating a New Job Begin by navigating to the job creation section in the UI and start a new job posting.
Step 2
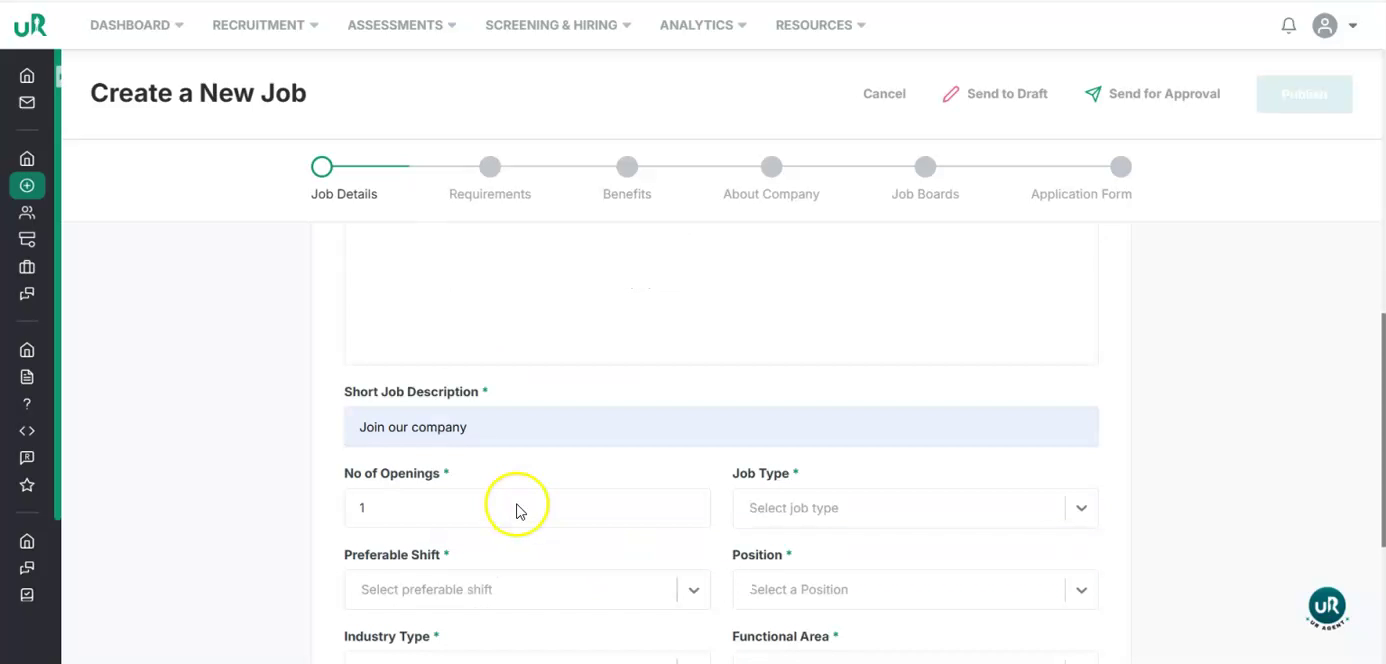
Enter Basic Job Details Provide the main job details:
-
Enter the Job Name/Title, for example: “Full-Stack Developer.”
-
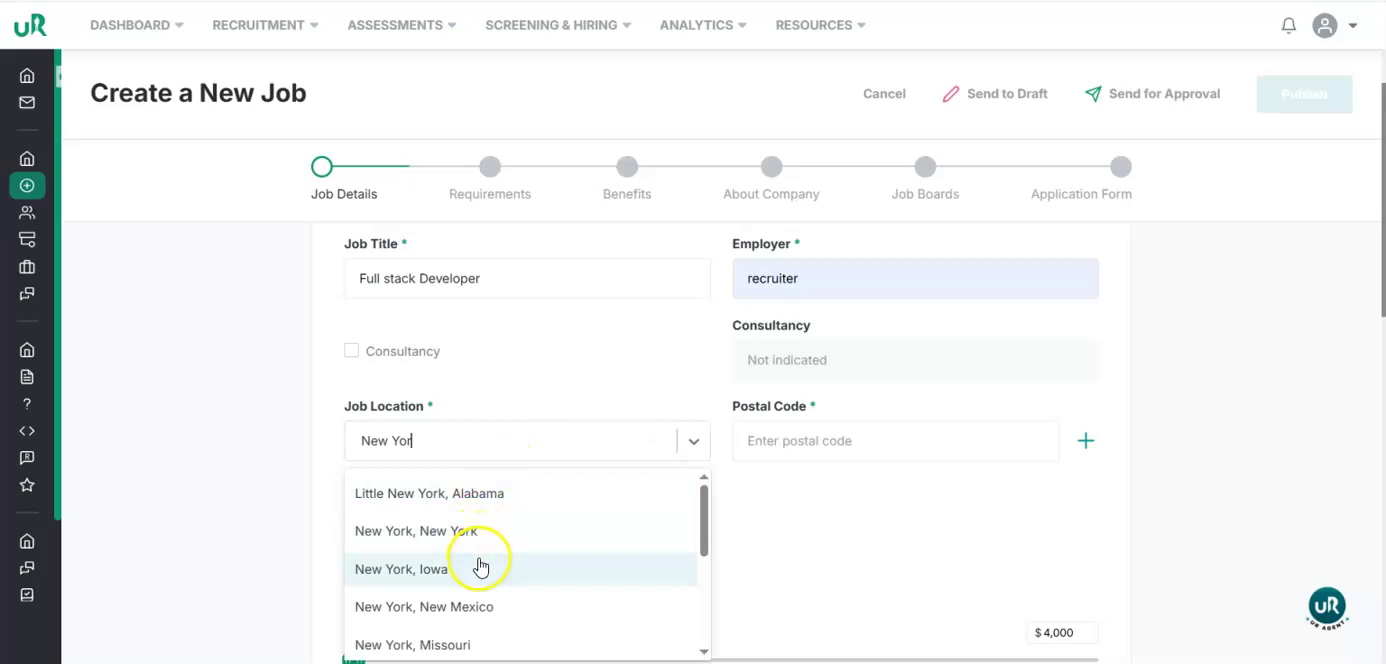
Specify the Location, such as “New York.”
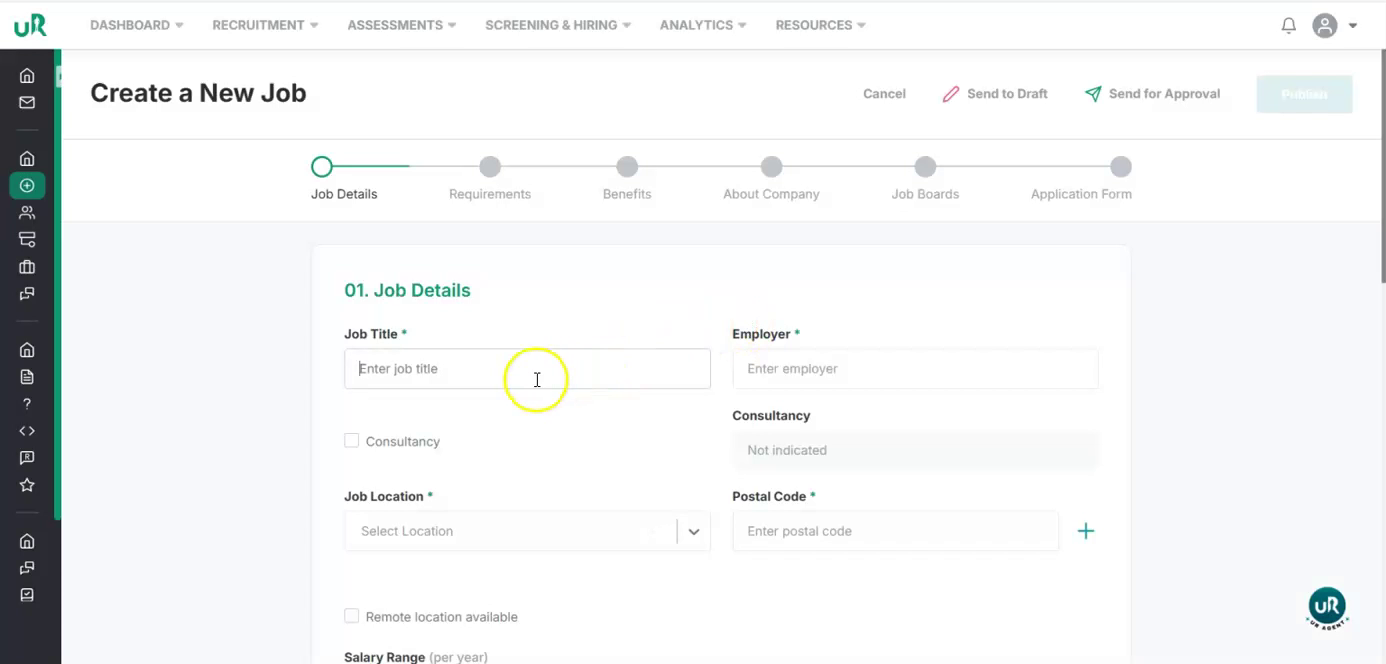
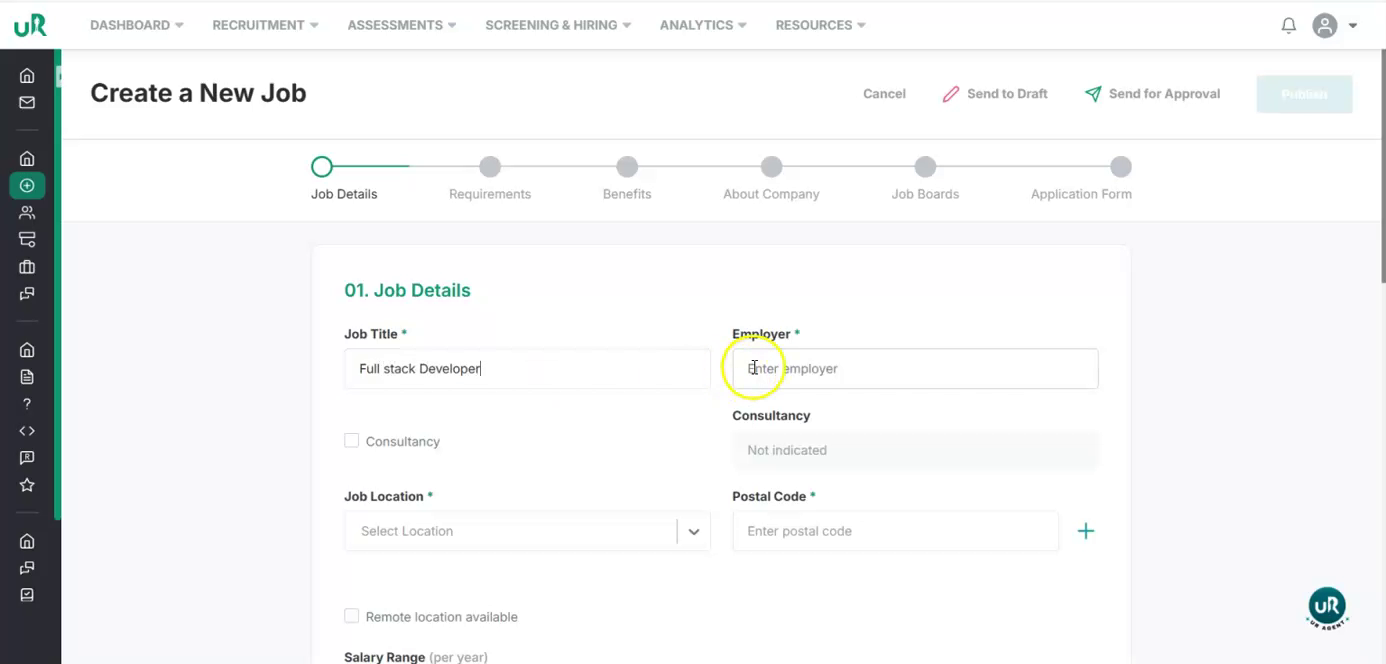
- Confirm the Postal Code, which will be auto-filled based on the location.
Step 3
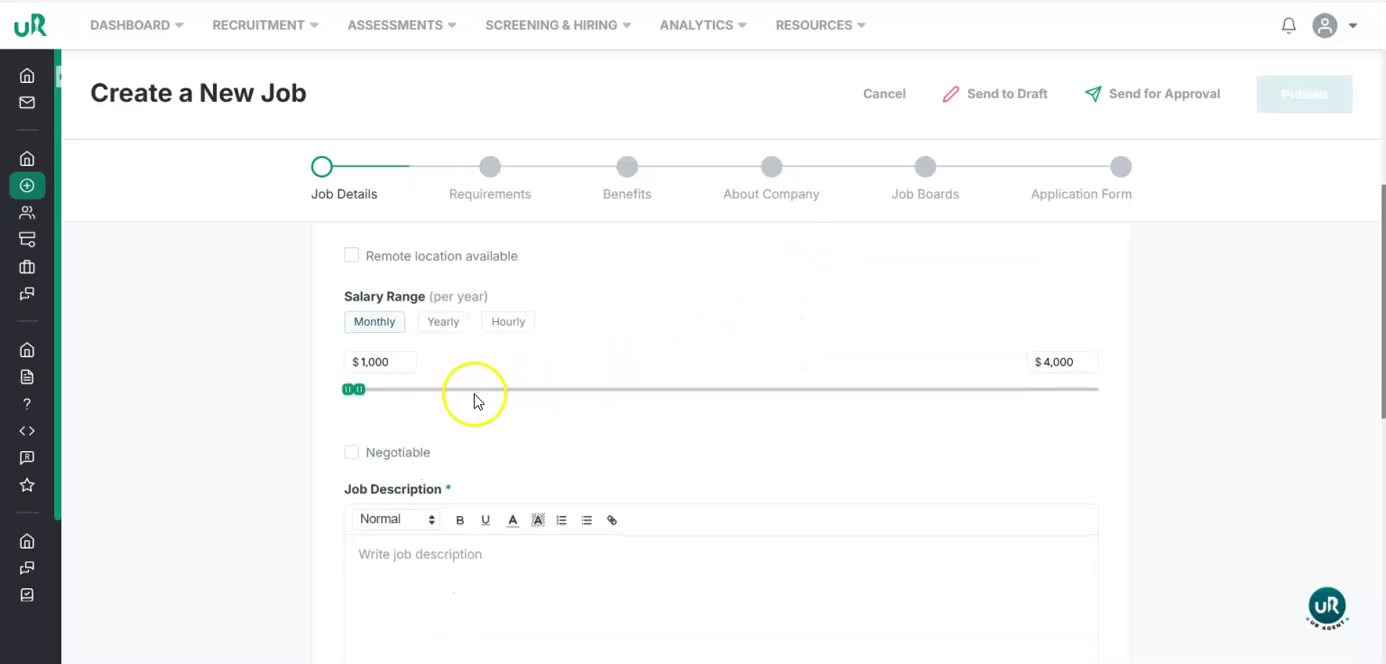
Define the Salary Range Set the salary range for the role:
- Choose whether the salary is monthly, yearly, or hourly.
Step 4
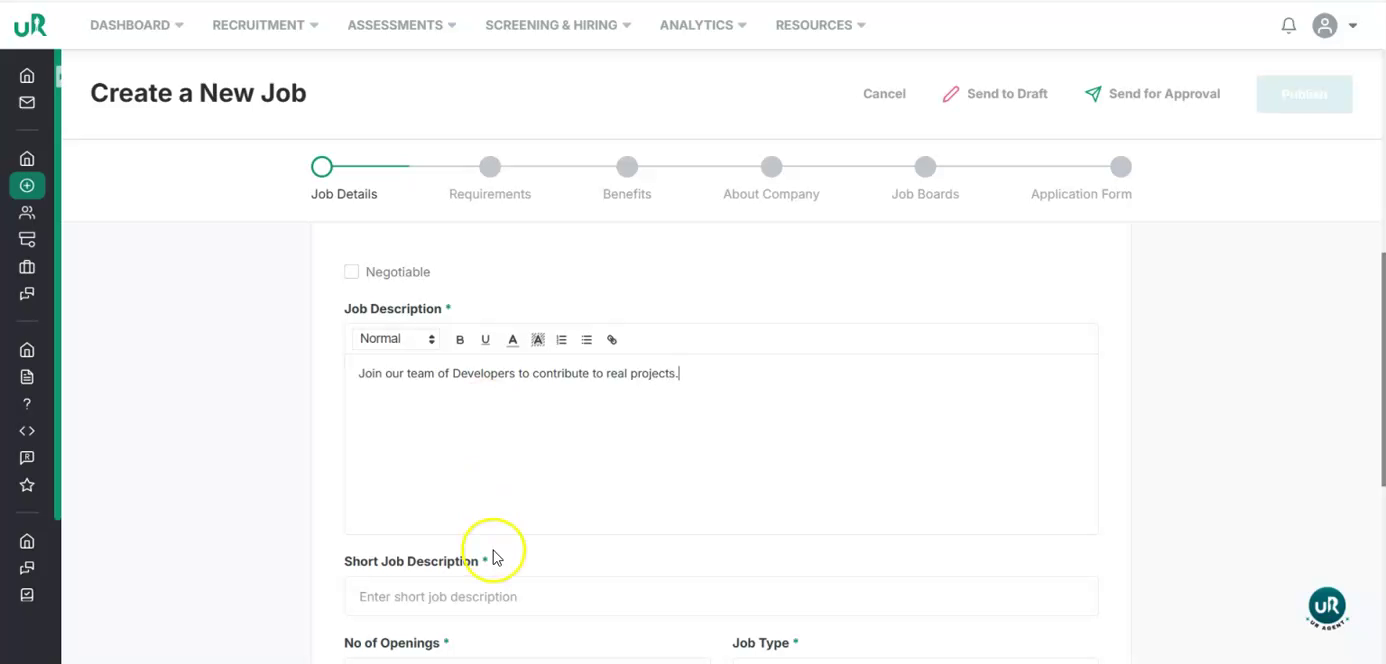
Add Job Descriptions Attach the content that describes the role:
-
Upload or paste a detailed job description covering responsibilities and projects.
-
Add a short description or summary.
Step 5
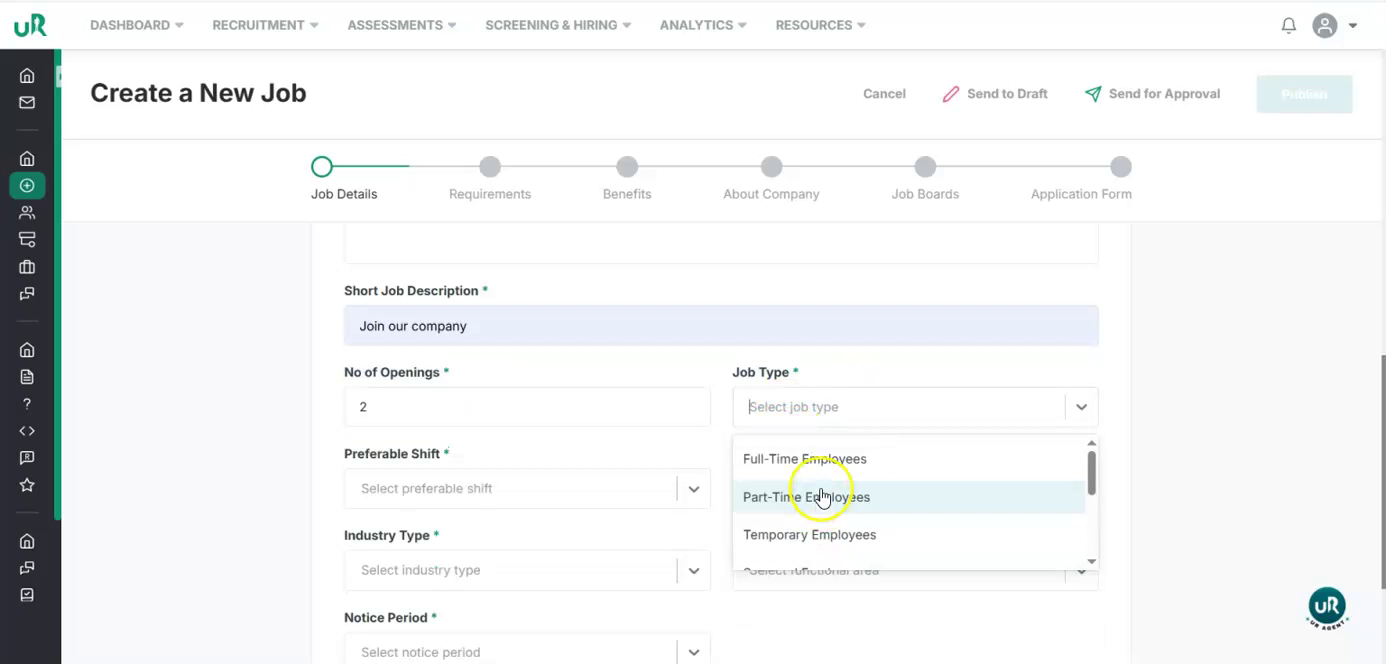
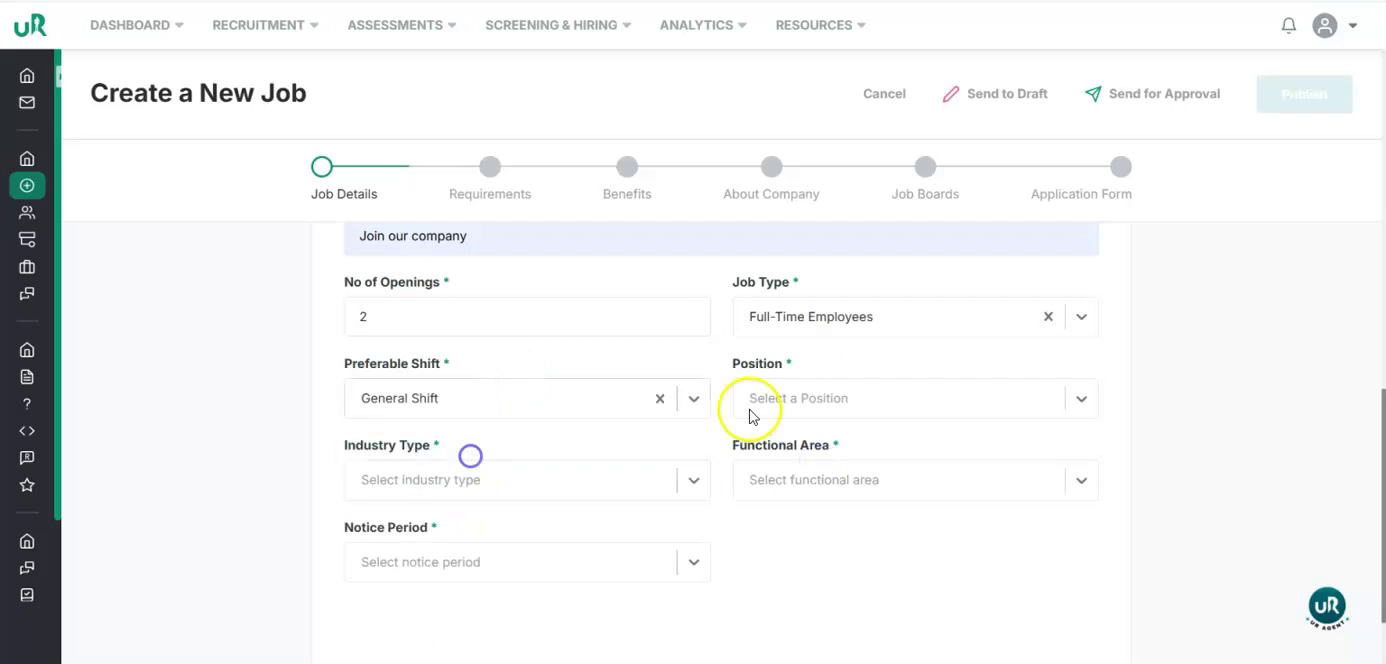
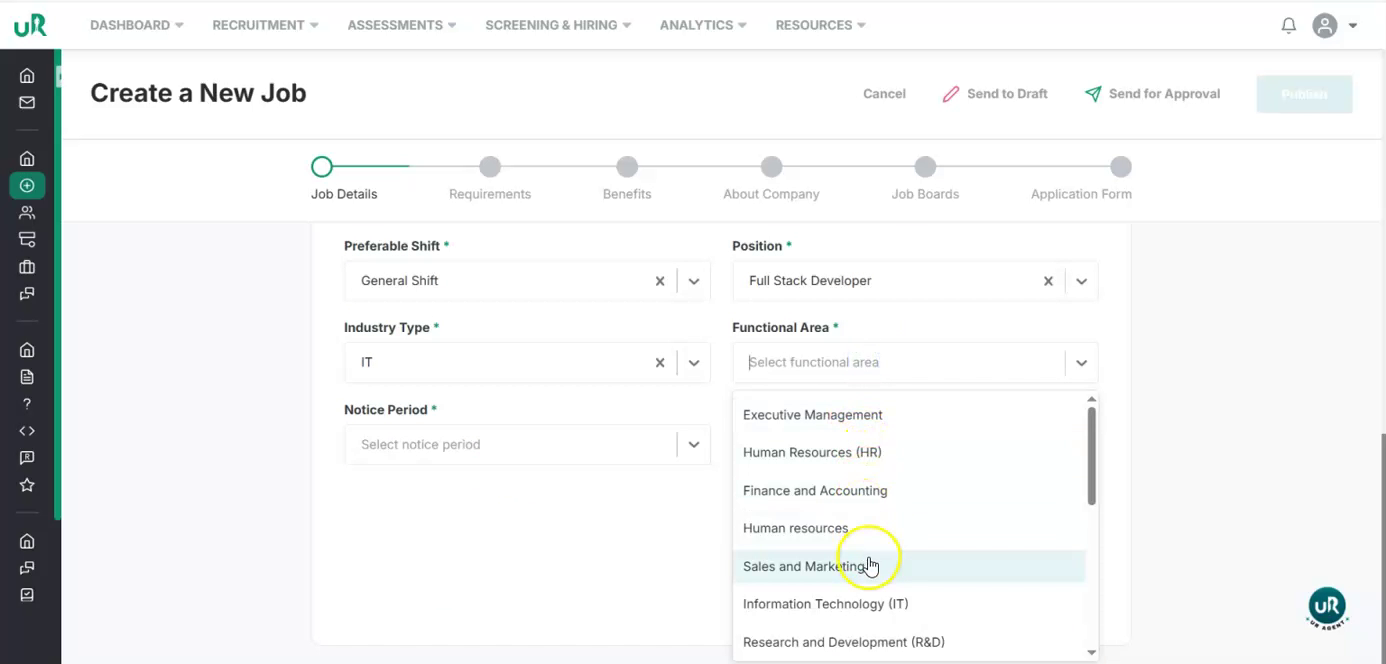
Specify Job Type and Position Configure the role classification:
-
Select the employment type, such as full-time, part-time, or other available options.
-
Choose the position (e.g., “Full-Stack Developer”).
-
If the desired position is not listed, create a new position entry.
-
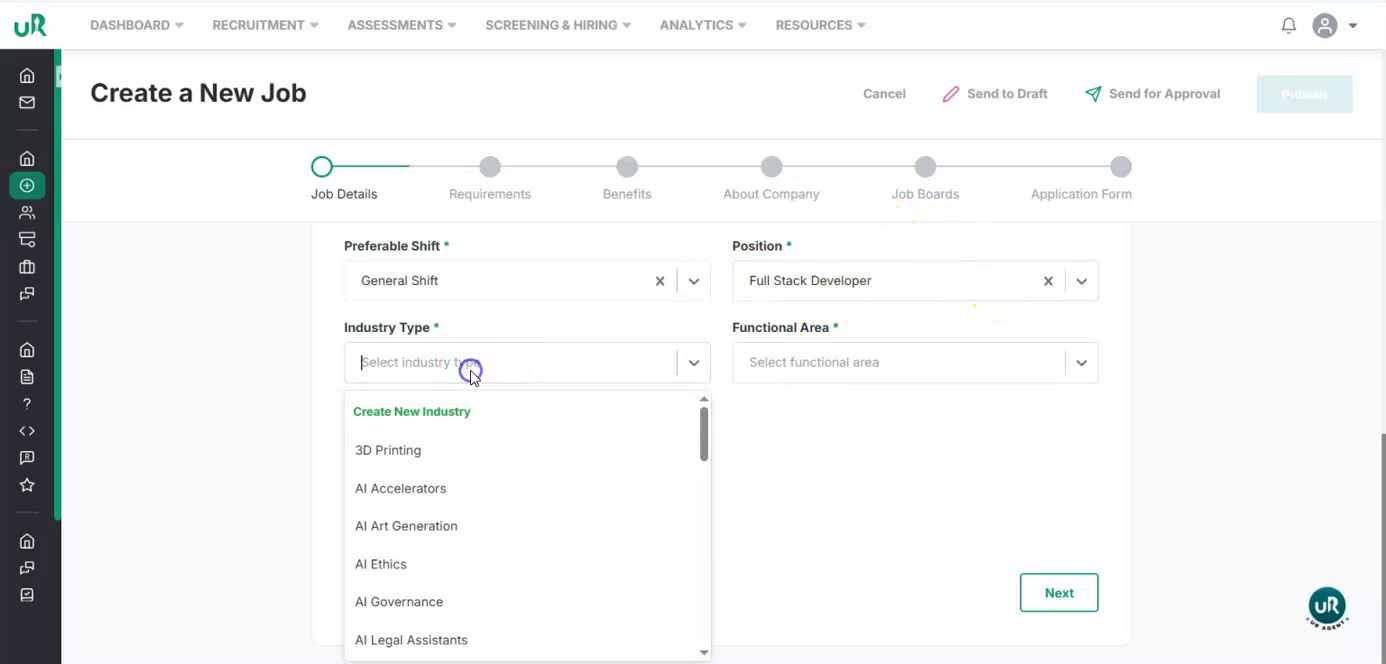
Similarly, select the industry, or create a new industry if it is not available.
-
Set the functional area (e.g., a specific department or domain).
Step 6
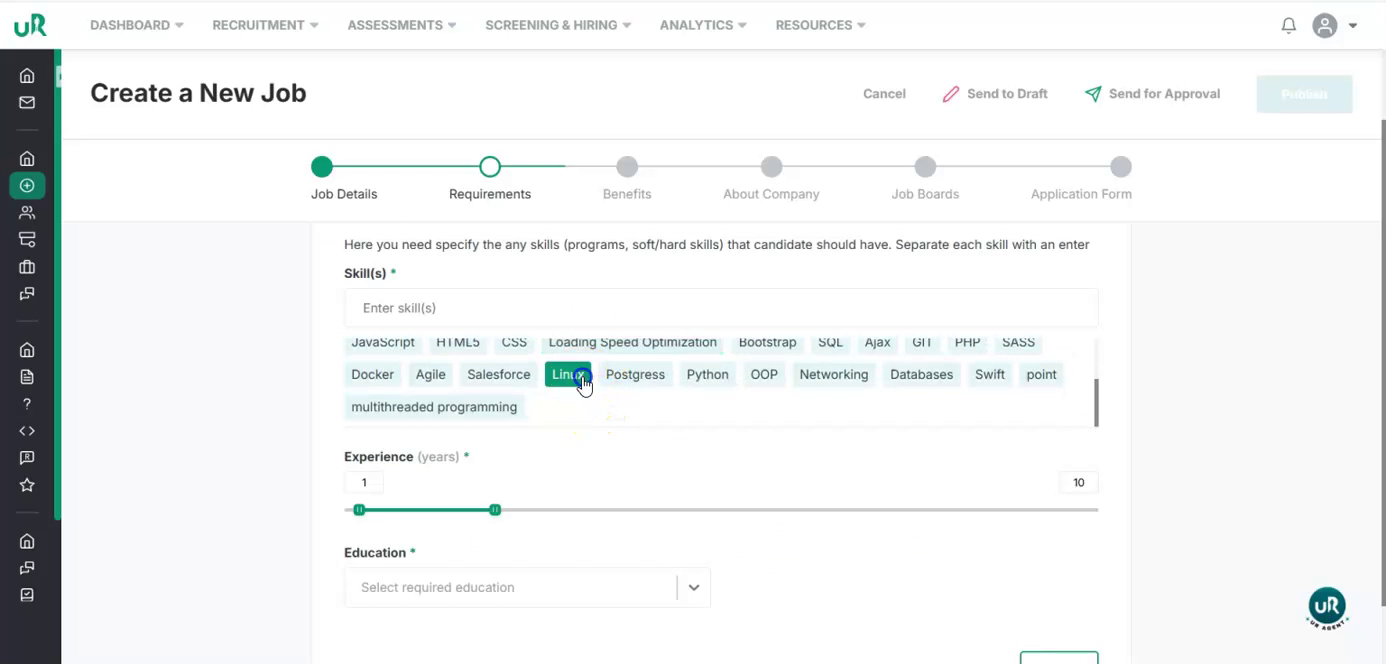
Add Required Skills Proceed to the skills section and define what is needed for this job:
- Add relevant technical and non-technical skills, such as: Linux, HTML, CSS, Angular, React etc.
- Multiple skills can be included.
Step 7
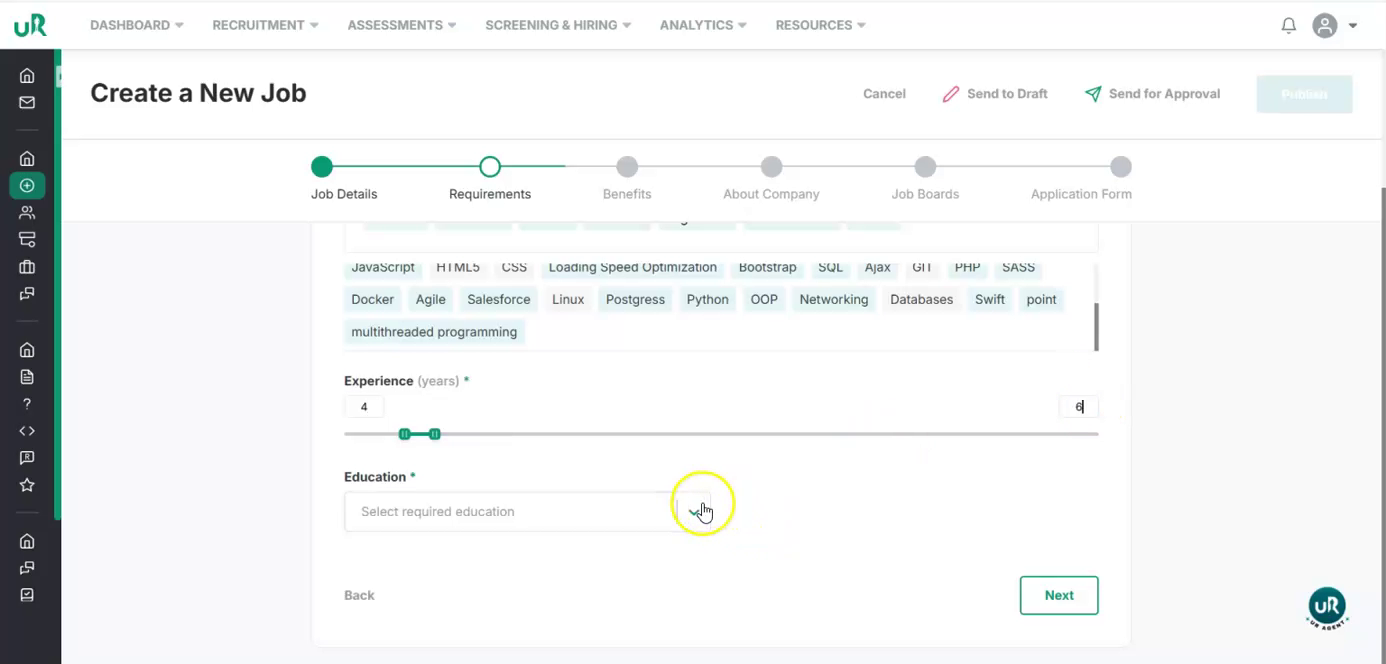
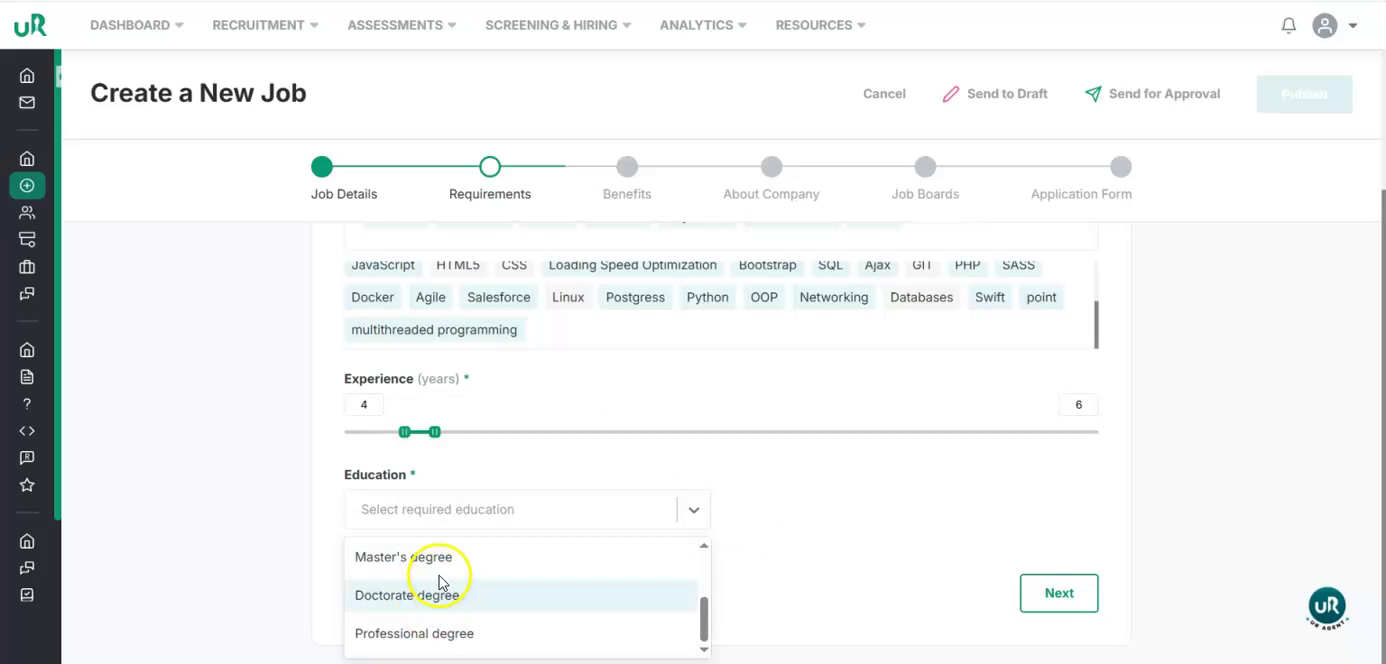
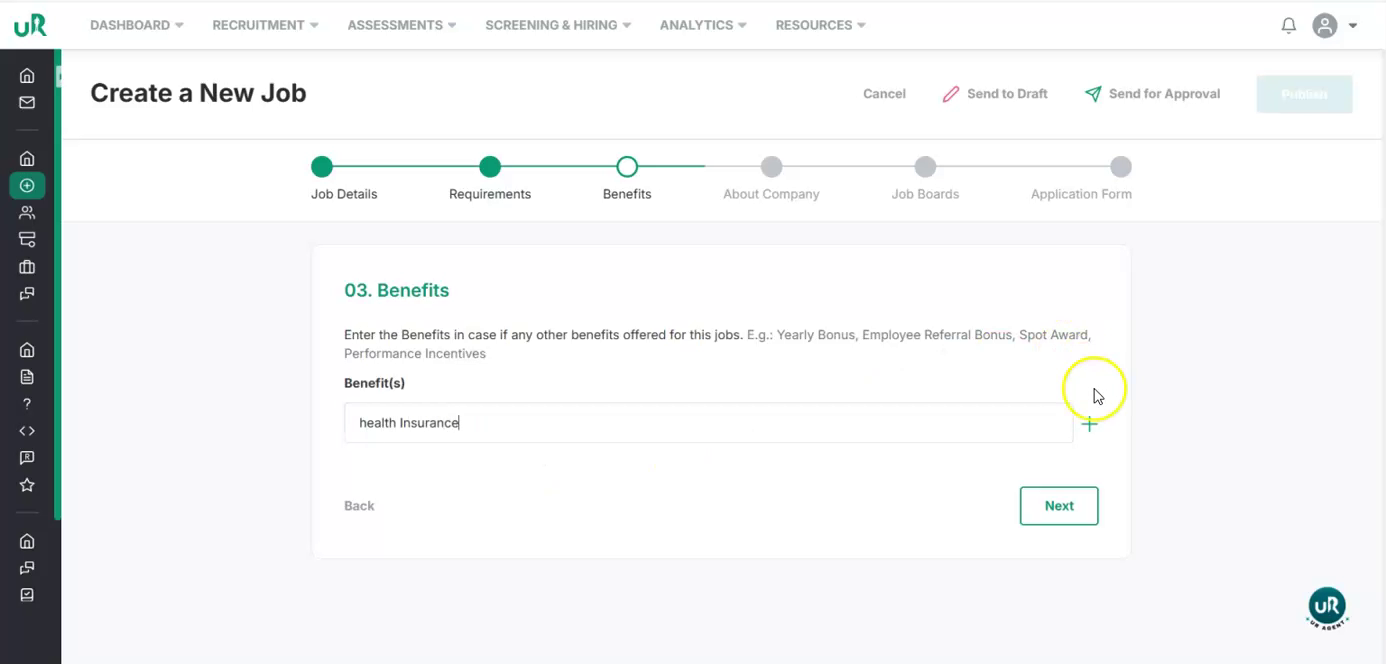
Set Experience, Education, and Benefits Finalize the candidate profile and perks:
- Specify the experience requirement, for example: 4–6 years.
-
Define the education requirement, such as a Bachelor's degree (or indicate if no formal education is required).
-
Add the benefits offered for this job, for example: health insurance.
-
Multiple benefits can be added.
Step 8
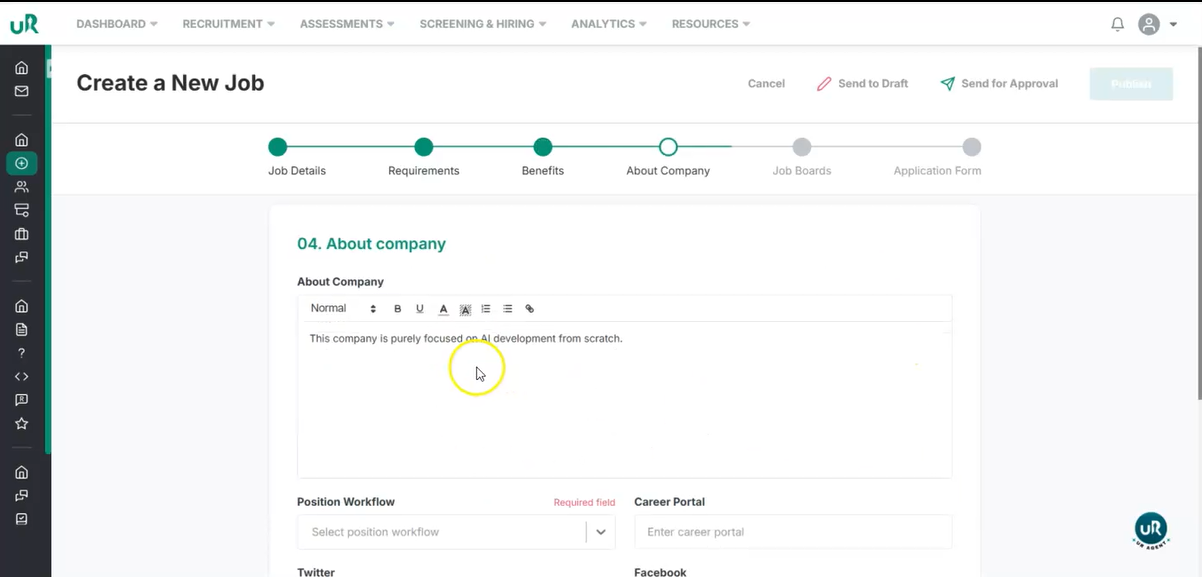
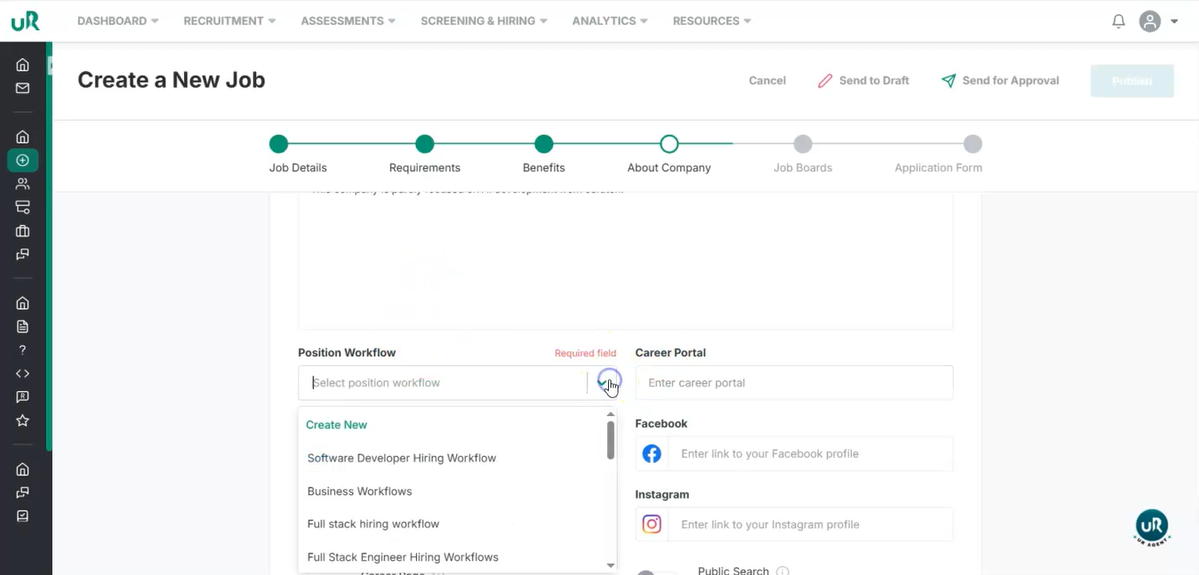
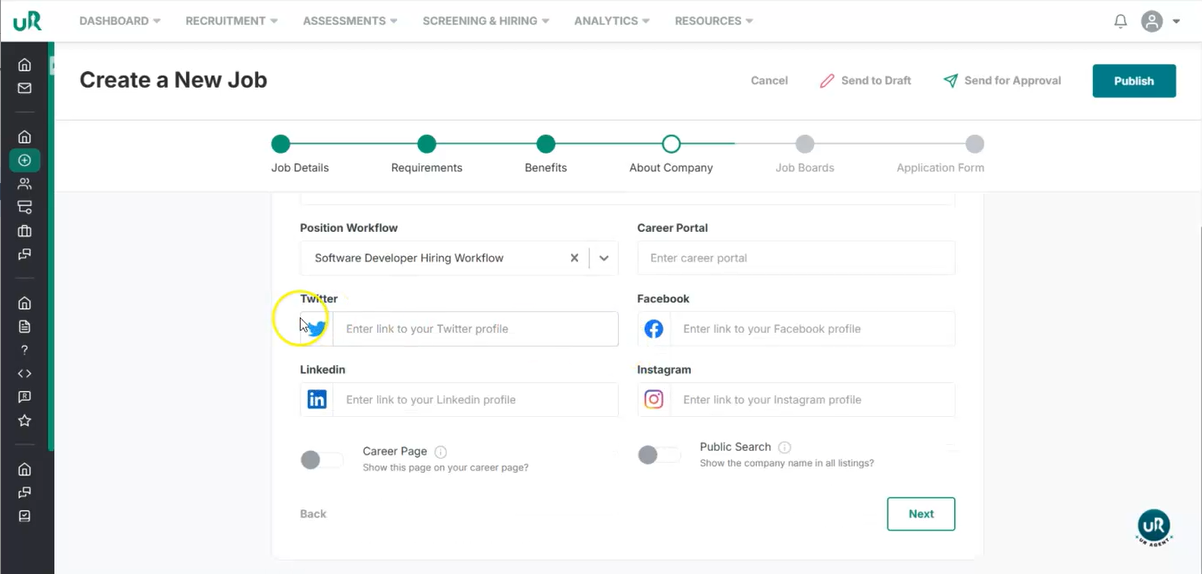
Add Company Details
- Add the workflow for this job or create a new one.
- Add the link to the career portal and other affiliated social media profiles.
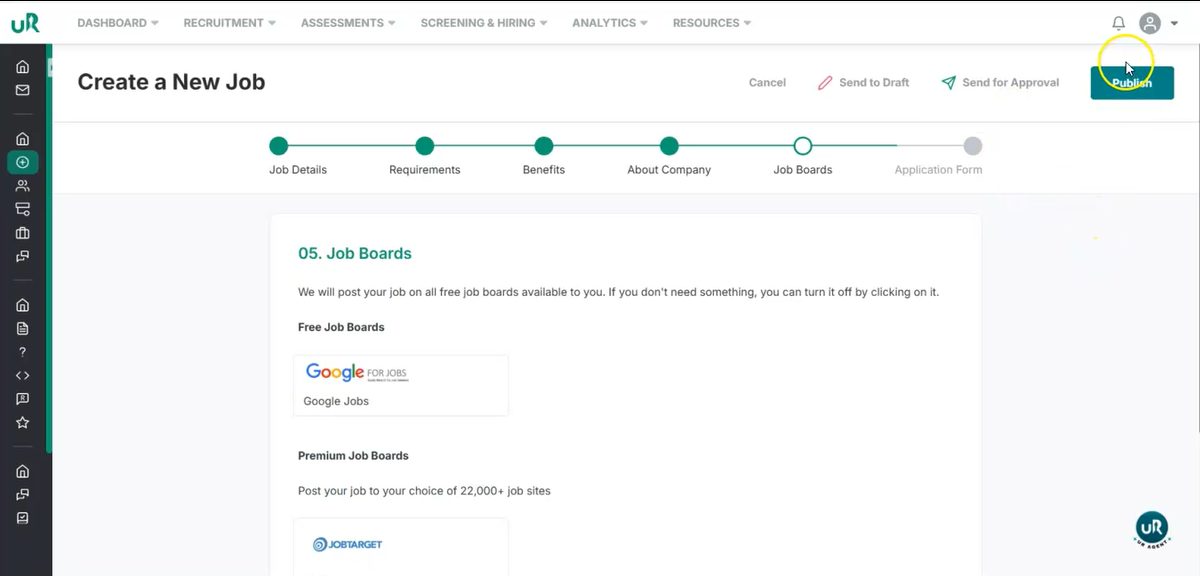
Step 9
Job Boards
- Urecruits allow you to post a job on multiple job boards.
- You can also send it to draft and for approval before publishing it.
Step 10
Publish the Job
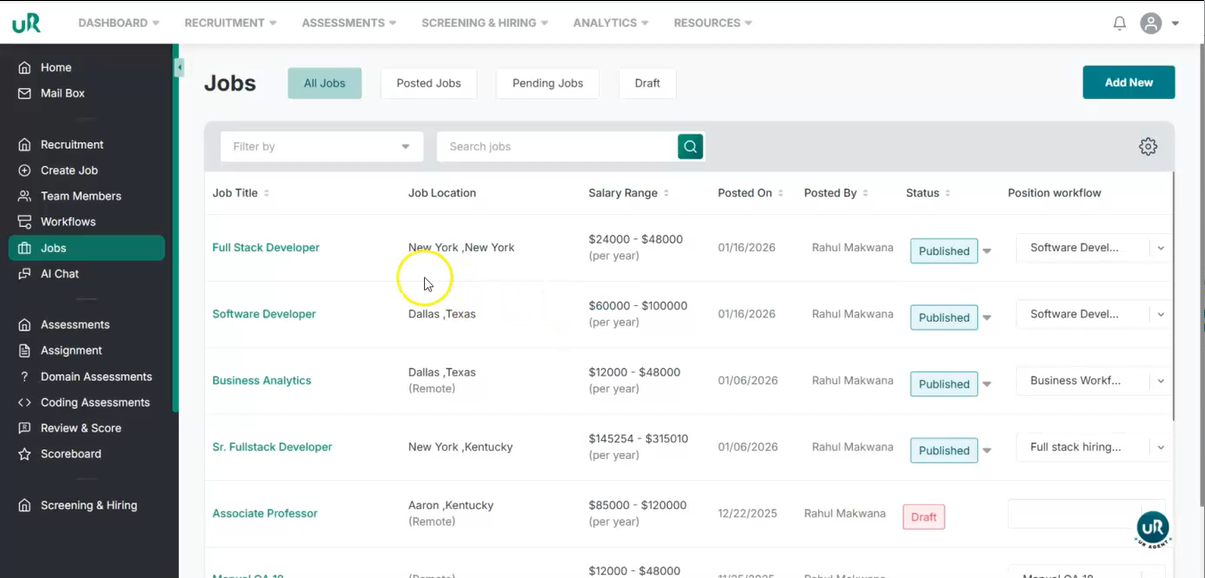
- Click on the publish to publish the job. Once published, you can view the created job in the jobs.